
Measure existing conditions before buying.
Replace garage door seals
Detailed DIY guide to replace garage door seals, with calculator, tools, materials, quality checks and common mistakes.
Prepared by RenoAtlas.ca · Content reviewed: 2026-08-02 · editorial method
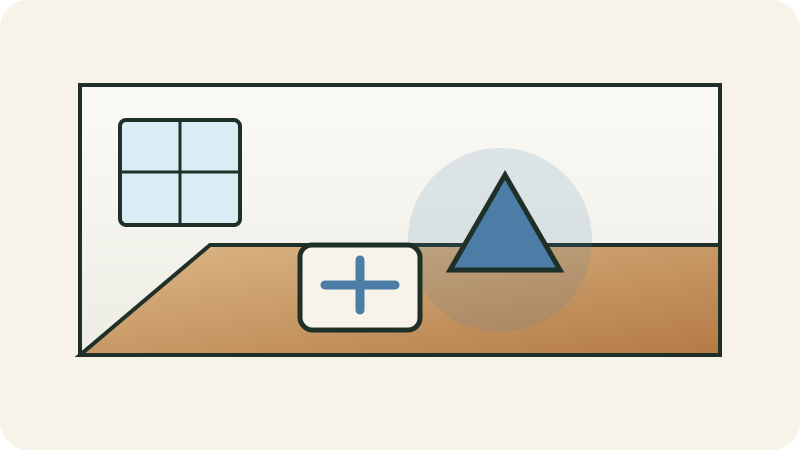
Forgetting waste, access and hidden services.
Permit, structure or regulated system.
Calculate
Budget estimator
Enter local prices or quotes in Canadian dollars. No data is sent to a server.
Respiratory protection
Full mask guideSelect for the hazard, never by appearance
Possible hazards
- vapours or aerosols depending on product
- wood, gypsum, fibre or debris dust
sds specific cartridgeventilationn95 or better if assessedhepa capture
Priority controls
- Eliminate or reduce dust/vapour at the source before relying on a respirator.
- Use appropriate wet methods, HEPA capture, local exhaust and isolation.
- Read the SDS and exact product instructions.
What is not sufficient
- A particulate N95/P100 does not protect against vapours.
- The respirator does not replace source extraction and HEPA cleanup.
Stop if
- Stop for dizziness, irritation, strong odour, inadequate ventilation or a product requiring professional protection.
Final selection depends on contaminant, concentration, SDS, fit and the applicable program. An air-purifying respirator does not supply oxygen.
Conceptual illustrations
Original conceptual illustrations; HTML text and the exact product data sheet prevail.
Dimensions, clearances, times and products specified by the exact manufacturer replace any general value.
Prepare the project
- Confirm the project is truly DIY-appropriate for your situation and municipality.
- Read all product instructions and keep receipts and lot numbers.
- Provide a clean area for cutting, waste sorting and tool storage.
- Photograph the initial condition and record important measurements or defects.
- Confirm the exact product data sheet, ambient conditions and wait times.
Tools to plan for
- ●Tape measure
- ●Level
- ●Suitable hand tools
- ○Portable work light (optional)
- ○Phone or camera for documentation (optional)
Protective equipment
- Safety glasses
- Suitable gloves
Detailed execution
Illustrated steps
HTML text is the reference; images clarify the action and sequence.

1
Close the door and locate gaps at the bottom, sides
A clear scope prevents wasted purchases and rework.
- Close the door and locate gaps at the bottom, sides and head without adjusting springs.
- Read the exact product data sheet and note limits, wait times and application conditions.
- Measure existing conditions in more than one location and record variations before buying.
- Allow for waste, accessories, delivery, disposal and a modest contingency.
Quality check
Scope, quantities and sequence are written down before work starts.
Stop if
Stop if the scope affects structure, a regulated system or an unevaluated suspect material.
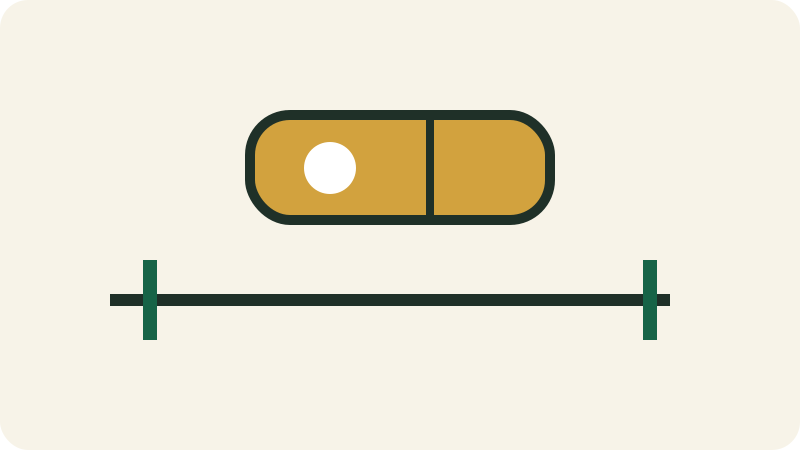
2
Identify the seal profile and measure the door, retainers and
A starting error repeats across the entire installation.
- Identify the seal profile and measure the door, retainers and corners.
- Measure each dimension at least twice and verify square, level or slope as appropriate.
- Mark reference lines independent of walls that may be irregular.
- Dry-fit the first pieces and adjust the layout to avoid an overly narrow final piece.
Quality check
Marks are visible, consistent and confirmed by a second measurement.
Stop if
Stop if variations exceed what the product or method can accommodate.

3
Remove the worn seal, clean retainers and check corrosion, fastening
Dust, grease and residue reduce adhesion and hide defects.
- Remove the worn seal, clean retainers and check corrosion, fastening and threshold drainage.
- Remove large debris, then vacuum with a suitable filter.
- Use a cleaner compatible with the substrate and rinse when required.
- Allow the surface to dry fully before coating or bonding.
Quality check
A clean white cloth picks up almost no dust or grease.
Stop if
Stop if stains return, the substrate remains damp or an unusual odour persists.

4
Lubricate lightly if permitted, slide or fasten the new seal
Correct fastening maintains alignment while allowing intended movement.
- Lubricate lightly if permitted, slide or fasten the new seal without stretching and finish corners.
- Locate backing and choose compatible fastener length, material and head.
- Pre-drill near ends or in materials prone to splitting.
- Fasten from centre toward ends or per manufacturer sequence without overdriving.
Quality check
Pieces remain straight and stable with no cracks, bulges or protruding fasteners.
Stop if
Stop if reliable backing is unavailable or a fastener could hit a hidden service.

5
Test several cycles and confirm even compression without interfering with
A check before putting tools away allows small defects to be corrected.
- Test several cycles and confirm even compression without interfering with sensors or closing.
- Inspect from several angles and lighting conditions, then gently test stability or operation.
- Photograph hidden areas, products, lot numbers and useful measurements.
- Clean up, remove protection at the proper time and record required maintenance.
Quality check
The result works, appears uniform and shows no leak, movement or visible damage.
Stop if
Do not conceal a defect; correct or document it before final close-out.
Final quality checklist
- The result is stable, clean and consistent with the product data sheet.
- Transitions and edges are finished without concealing a defect.
- Photos, leftover quantities and maintenance are recorded.
- Compare the result with initial photos and the product data-sheet criteria.
- Inspect from several angles and lighting conditions before putting tools away.
Common mistakes
Starting without a test
Consequence: An incompatibility is found too late.
Correction: Make a discreet test or dry-fit.
Concealing a defect
Consequence: The problem returns after finishing.
Correction: Correct and document before closing.
Ignoring instructions
Consequence: Warranty, adhesion or durability are compromised.
Correction: Use exact product values.
Check whether a price or quote makes sense
Compare materials, preparation, labour, rental, delivery, disposal, tax and contingency separately.
Often excluded
- delivery
- rental
- disposal
- hidden preparation
- touch-ups
Red flags
- lump sum without quantities
- no preparation described
- disproportionate deposit
- unidentified material or product
- no terms for unforeseen conditions
Indicative DIY hours: 6–12 h
To compare a quote, request quantities, labour rate or allowance, preparation, exact products, exclusions and the method for handling unforeseen conditions.
Maintenance and follow-up
- Inspect after the first week and after one season of use.
- Keep data sheets, photos and touch-up products.
- Correct small movement or joint issues before they worsen.
Inspection
Full defect libraryDefects to recognize before, during and after this project
Defects homeowners often encounter on this type of project. Some records use credited real photos; others use conceptual references. Symptoms and real-world context remain the reference.
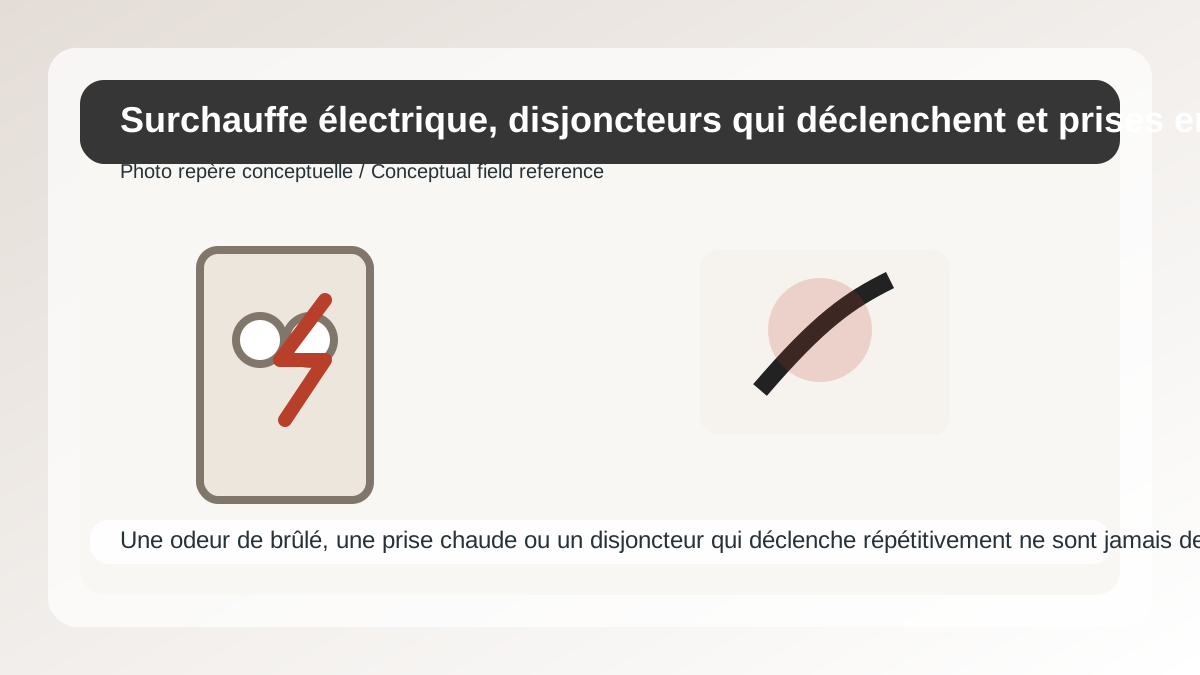
Electrical overheating, tripping breakers and damaged receptacles
A burning smell, a warm receptacle or a breaker that trips repeatedly is never a cosmetic issue.
- Browning faceplate, warm receptacle, buzzing or flickering light.
- Breaker trips without a clear reason or a repeatedly replaced fuse.
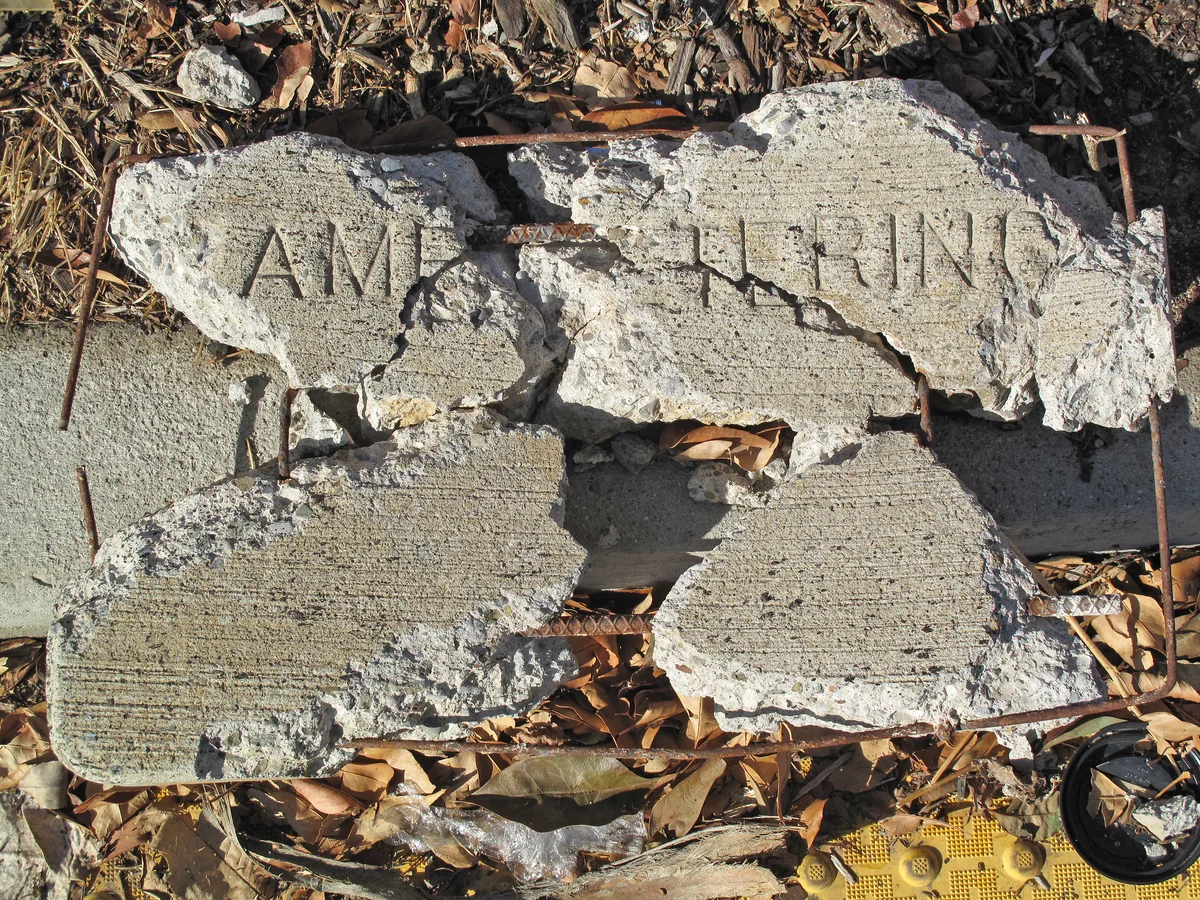
Spalling, scaling or exposed reinforcing steel
Concrete scaling can result from freeze-thaw, salts, corroding reinforcement or poor mix/finishing.
- Peeling surface, exposed aggregate, detached pieces or rust at reinforcing steel.

Rodent, insect and entry-point signs
Droppings, frass, tunnels and openings are not solved with a trap alone: food, water and access must be corrected.
- Droppings, odour, noises, gnawed material, frass or winged insects.
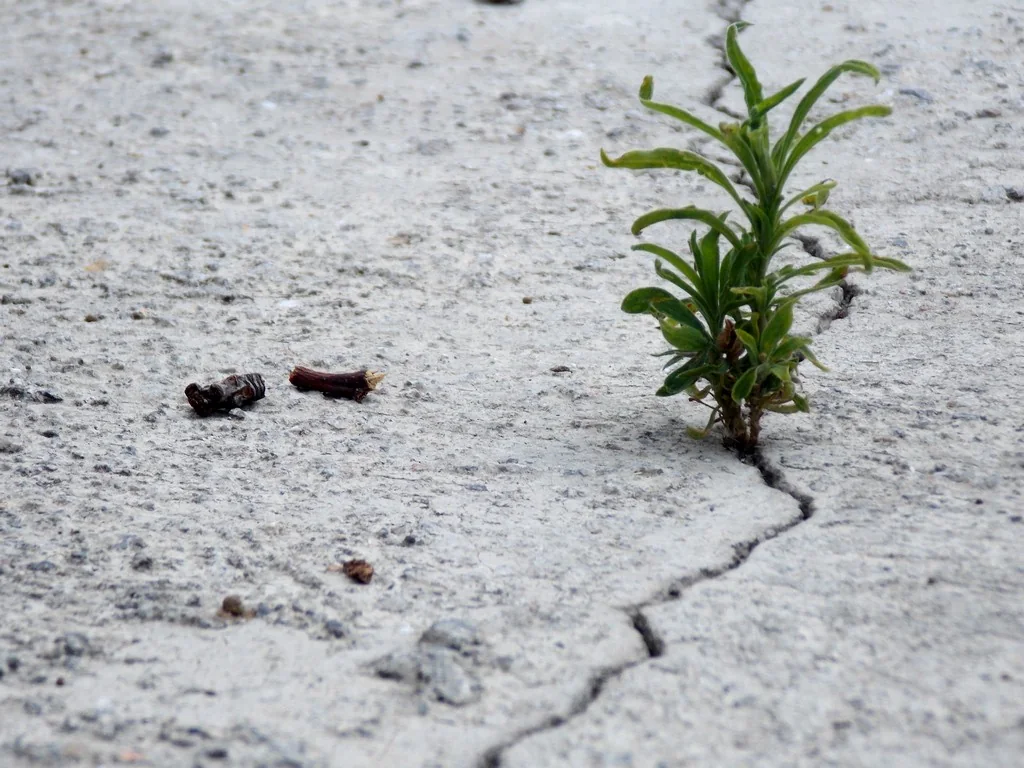
Foundation cracks and differential movement
Not all cracks are equal: location, width, displacement and associated moisture guide urgency.
- Vertical, diagonal or horizontal cracks.
- Surface displacement, sticking doors, sloped floors or repeated new cracks.
Related path
Continue with the right tools
These links connect this page to the next useful checks and decisions without repeating the full content.
Coordinate site and utilitiesConnect access, grading, drainage, excavation, utilities and interfaces before work.Open →Check exterior permitsIdentify triggers related to structures, pools, drainage and site changes.Open →Plan a garage buildStructure footprint, slab, enclosure, utilities, budget and closeout.Open →Screen site constraintsOrganize official sources before fixing layout or investment.Open →Compare equipment rentalsReview specialized equipment, intended uses and dated rental observations.Open →
V14
Systems to check before closing the work
V14 connects envelope, air, fire, structure, water and code instead of treating each project in isolation.
V15
Remaining system checks not to miss
V15 covers issues that can block a project, cause a loss or become expensive once concealed.
V18
Specialized diagnostics to verify
V18 connects systems that become costly or regulated when a primary project triggers them.
V19
Edge systems to integrate into the project
V19 covers interfaces that become important when multiple home systems interact.