
Shutoffs, slope, future access and leak testing.
Replace a showerhead
Detailed DIY guide to replace a showerhead, with calculator, tools, materials, quality checks and common mistakes.
Prepared by RenoAtlas.ca · Content reviewed: 2026-08-02 · editorial method
Concealing an unverified connection.
Permit or authorized contractor depending on the change.
Calculate
Budget estimator
Enter local prices or quotes in Canadian dollars. No data is sent to a server.
Respiratory protection
Full mask guideSelect for the hazard, never by appearance
Possible hazards
- task-specific dust or products to confirm
hazard assessment first
Priority controls
- Eliminate or reduce dust/vapour at the source before relying on a respirator.
- Use appropriate wet methods, HEPA capture, local exhaust and isolation.
- Read the SDS and exact product instructions.
What is not sufficient
- Choosing a respirator by appearance or colour is not a selection method.
Stop if
- Stop if the contaminant is unknown, air is inadequate, a seal is impossible or symptoms occur.
Final selection depends on contaminant, concentration, SDS, fit and the applicable program. An air-purifying respirator does not supply oxygen.
Conceptual illustrations
Original conceptual illustrations; HTML text and the exact product data sheet prevail.
Dimensions, clearances, times and products specified by the exact manufacturer replace any general value.
Prepare the project
- Identify the accessible shutoff valve and verify it works without forcing it.
- Protect surfaces and provide a bucket for residual water.
- Do not alter concealed piping or regulated connections in a green project.
- Photograph the initial condition and record important measurements or defects.
- Confirm the exact product data sheet, ambient conditions and wait times.
Tools to plan for
- ●Work light
- ●Bucket and cloths
- ●Tongue-and-groove pliers
- ●Adjustable wrench
- ○PTFE tape if required by product (optional)
- ○Portable work light (optional)
- ○Phone or camera for documentation (optional)
Protective equipment
- Safety glasses
- Suitable gloves
Detailed execution
Illustrated steps
HTML text is the reference; images clarify the action and sequence.

1
Confirm connection type, compatibility and that the shower control is
A clear scope prevents wasted purchases and rework.
- Confirm connection type, compatibility and that the shower control is closed.
- Read the exact product data sheet and note limits, wait times and application conditions.
- Measure existing conditions in more than one location and record variations before buying.
- Allow for waste, accessories, delivery, disposal and a modest contingency.
Quality check
Scope, quantities and sequence are written down before work starts.
Stop if
Stop if the scope affects structure, a regulated system or an unevaluated suspect material.
2
Protect the finish and unscrew the existing head while supporting
Protection costs less than repairing adjacent surfaces.
- Protect the finish and unscrew the existing head while supporting the arm without twisting it.
- Remove what can be removed instead of only masking it.
- Cover surfaces with non-slip protection and isolate dusty areas.
- Label and store hardware in separate containers.
Quality check
No fragile surface, opening or travel path is unnecessarily exposed.
Stop if
Stop if removal reveals suspect material, moisture or hidden damage.

3
Clean threads and inspect the arm for cracking, movement or
Dust, grease and residue reduce adhesion and hide defects.
- Clean threads and inspect the arm for cracking, movement or corrosion.
- Remove large debris, then vacuum with a suitable filter.
- Use a cleaner compatible with the substrate and rinse when required.
- Allow the surface to dry fully before coating or bonding.
Quality check
A clean white cloth picks up almost no dust or grease.
Stop if
Stop if stains return, the substrate remains damp or an unusual odour persists.
4
Apply thread seal material only if required and hand-tighten before
The right joint manages water and movement without blocking required drying.
- Apply thread seal material only if required and hand-tighten before a slight final tightening.
- Remove loose old material and clean both sides of the joint.
- Respect joint geometry and use backer rod when required.
- Apply a continuous bead, tool once and respect cure time.
Quality check
The joint adheres to both sides, remains continuous and avoids three-sided adhesion where required.
Stop if
Stop if water is coming from behind the joint or the substrate is wet or deteriorated.

5
Turn on water, test modes and inspect every joint under
A check before putting tools away allows small defects to be corrected.
- Turn on water, test modes and inspect every joint under pressure.
- Inspect from several angles and lighting conditions, then gently test stability or operation.
- Photograph hidden areas, products, lot numbers and useful measurements.
- Clean up, remove protection at the proper time and record required maintenance.
Quality check
The result works, appears uniform and shows no leak, movement or visible damage.
Stop if
Do not conceal a defect; correct or document it before final close-out.
Final quality checklist
- The result is stable, clean and consistent with the product data sheet.
- Transitions and edges are finished without concealing a defect.
- Photos, leftover quantities and maintenance are recorded.
- Compare the result with initial photos and the product data-sheet criteria.
- Inspect from several angles and lighting conditions before putting tools away.
Common mistakes
Starting without a test
Consequence: An incompatibility is found too late.
Correction: Make a discreet test or dry-fit.
Concealing a defect
Consequence: The problem returns after finishing.
Correction: Correct and document before closing.
Ignoring instructions
Consequence: Warranty, adhesion or durability are compromised.
Correction: Use exact product values.
Check whether a price or quote makes sense
Compare materials, preparation, labour, rental, delivery, disposal, tax and contingency separately.
Often excluded
- delivery
- rental
- disposal
- hidden preparation
- touch-ups
Red flags
- lump sum without quantities
- no preparation described
- disproportionate deposit
- unidentified material or product
- no terms for unforeseen conditions
Indicative DIY hours: 4–8 h
To compare a quote, request quantities, labour rate or allowance, preparation, exact products, exclusions and the method for handling unforeseen conditions.
Maintenance and follow-up
- Inspect after the first week and after one season of use.
- Keep data sheets, photos and touch-up products.
- Correct small movement or joint issues before they worsen.
Inspection
Full defect libraryDefects to recognize before, during and after this project
Defects homeowners often encounter on this type of project. Some records use credited real photos; others use conceptual references. Symptoms and real-world context remain the reference.
Rusted, leaking or abnormally noisy water heater
Rust, water in the pan, dripping relief valve or kettle-like noise can signal leakage, overheating, pressure or sediment.
- Water at the base, corroded fittings, dripping relief valve, brown water or popping noise.

Septic-system or well warning signs
Odours, soggy ground, cloudy water or rapid pump cycling require assessment specific to private systems.
- Odour, backup, unusually green grass, soggy soil, cloudy water or pressure variation.
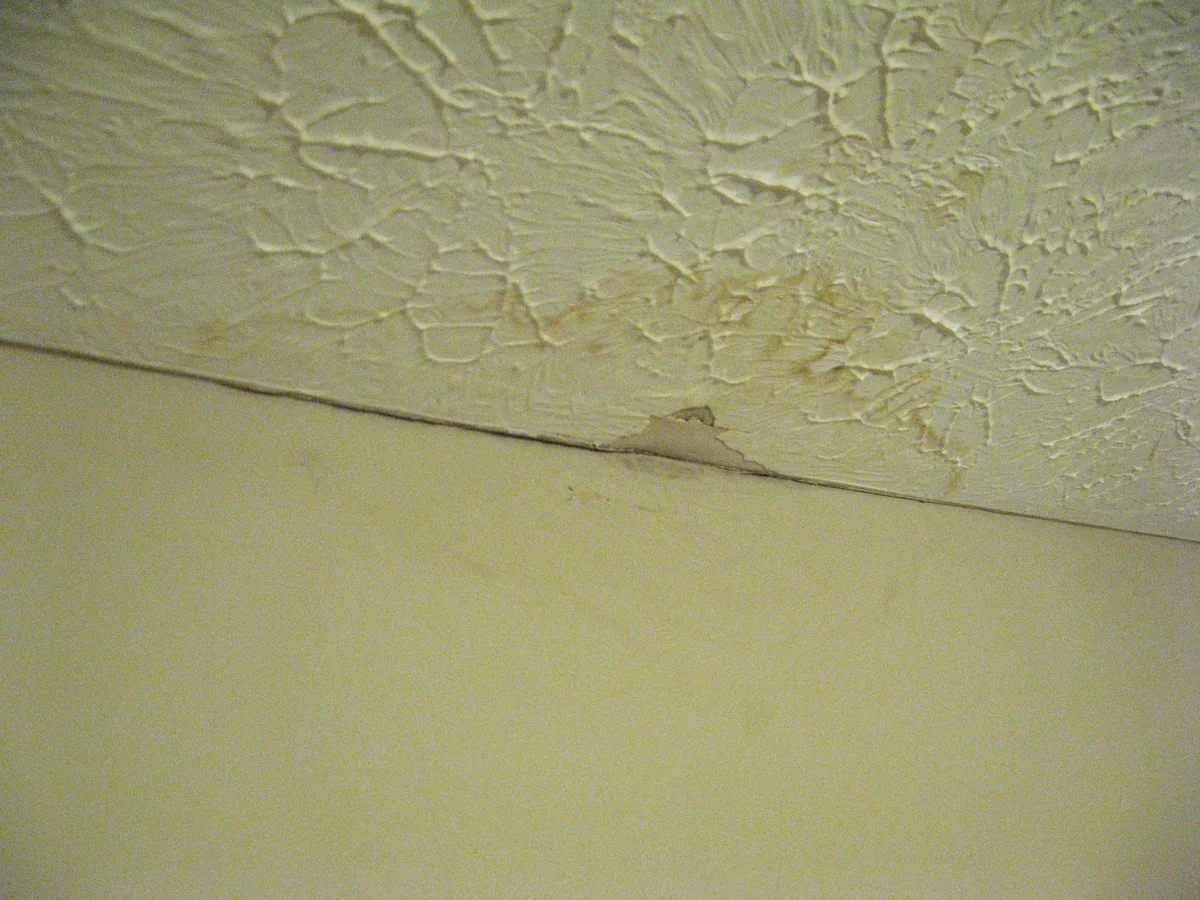
Water stains and active leaks
Rings, blistering paint, soft drywall or visible water signal a water path that must be traced before repairing finishes.
- Brown or yellow rings on ceilings or upper walls.
- Blistering paint, opening joints or soft drywall.
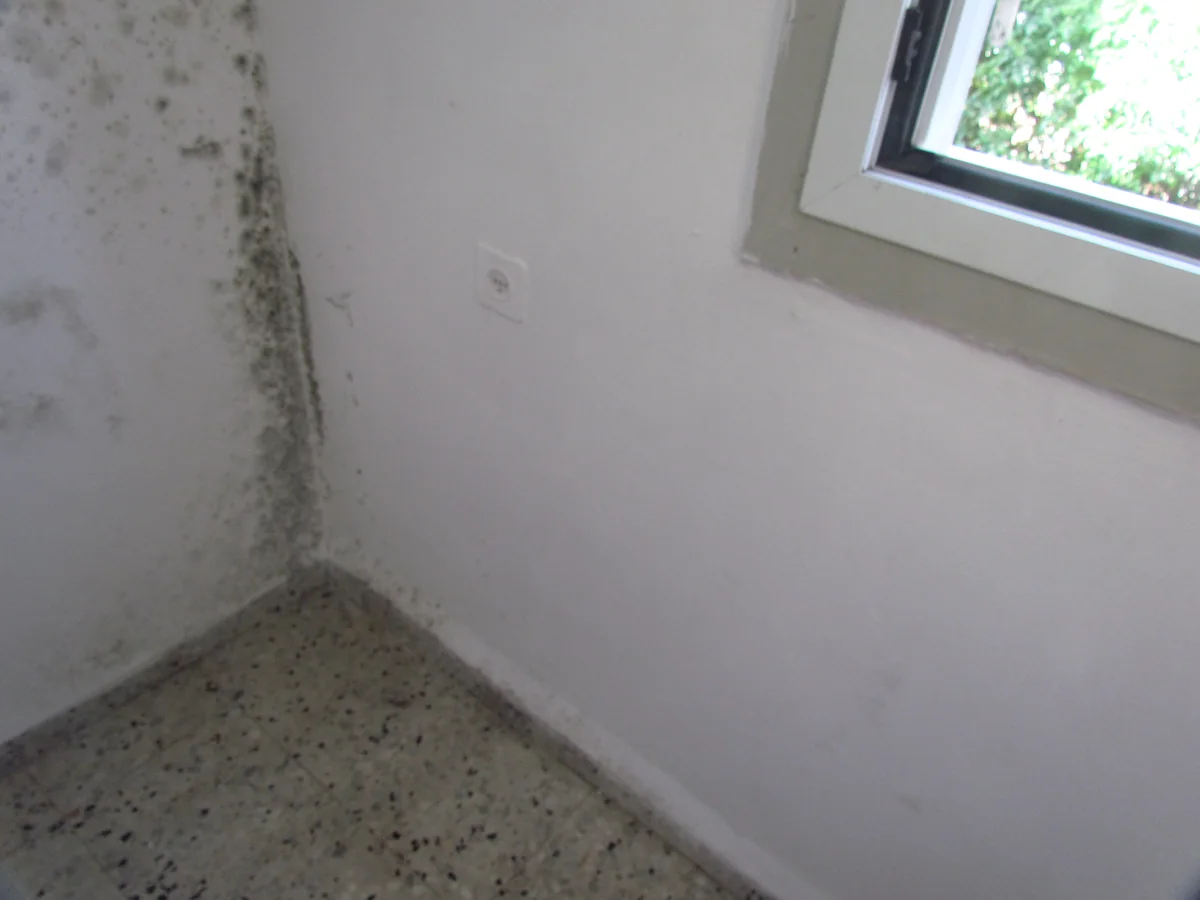
Visible mould and musty odour
Mould is rarely an isolated defect: it usually signals a moisture source, inadequate drying or a material that stayed wet too long.
- Black, green, grey or white spotting on materials.
- Persistent basement, wet cardboard or earthy odour.
Understand the system
All guidesUseful guides for this project
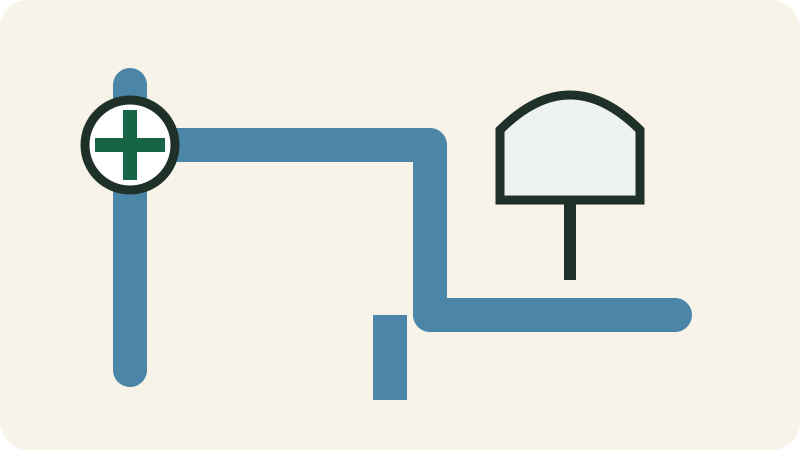
French drains, foundation drains and channel drains
Choose the right drainage system for surface water, groundwater and the available outlet.
Checked: 2026-08-01Plan a pool, hot tub and cold plunge
Organize permits, barriers, base, equipment, energy, water and winterization before purchase.
Checked: 2026-08-01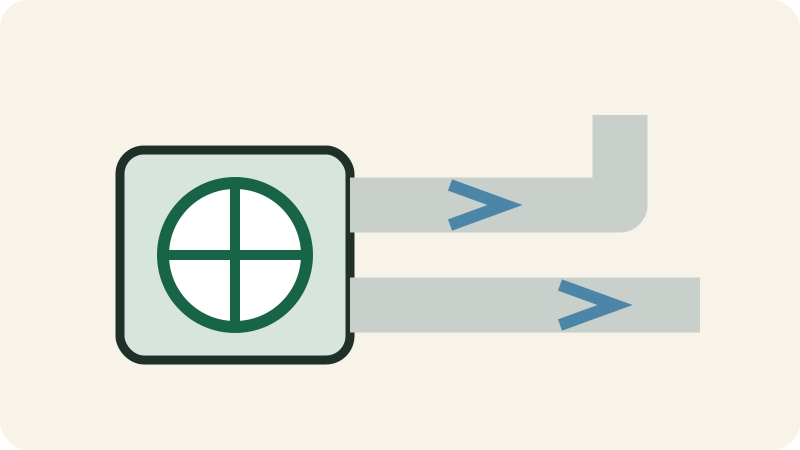
Design a durable and safe sauna
Connect volume, heater, ventilation, vapour barrier, wood, benches and drainage.
Checked: 2026-08-01Water heater 101: choose, replace and install
Sizing, energy, parts, replacement sequence, controls and regulatory boundaries.
Checked: 2026-08-02Related path
Continue with the right tools
These links connect this page to the next useful checks and decisions without repeating the full content.
Start from a symptomOrganize plausible causes, observations, urgency and the right professional.Open →Track water useCompare meter readings and flag unusual changes.Open →Review water resilienceConnect flooding, drainage and future events to building adaptations.Open →Score home resiliencePrioritize water, outages, fire, climate, health and records.Open →Plan site, drainage and utilitiesCoordinate access, water, sewer, wells, septic, grading and site constraints.Open →
V14
Systems to check before closing the work
V14 connects envelope, air, fire, structure, water and code instead of treating each project in isolation.
V19
Edge systems to integrate into the project
V19 covers interfaces that become important when multiple home systems interact.
V27
Project risks and overlooked interfaces
V27 connects payment, water, envelope, ventilation and jobsite details that often create costly surprises.