
Measure existing conditions before buying.
Build a shiplap feature wall
Detailed DIY guide to build a shiplap feature wall, with calculator, tools, materials, quality checks and common mistakes.
Prepared by RenoAtlas.ca · Content reviewed: 2026-08-02 · editorial method
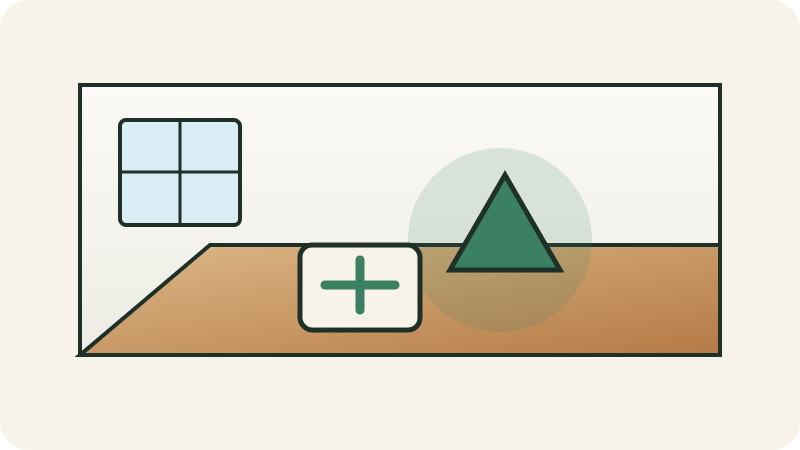
Forgetting waste, access and hidden services.
Permit, structure or regulated system.
Calculate
Budget estimator
Enter local prices or quotes in Canadian dollars. No data is sent to a server.
Dated prices
All pricesCompare before buying
| Retailer / product | Location / date | Price | Unit price | |
|---|---|---|---|---|
| interior primer | ||||
| CanacApprêt BIN 3,78 L | L’Ancienne-Lorette / Québec web price2026-08-01 | 113.99 $ / pail | 30.16 $ / L | Verify |
Public observations only. Select your store and verify stock, taxes, delivery and current price.
Respiratory protection
Full mask guideSelect for the hazard, never by appearance
Possible hazards
- task-specific dust or products to confirm
hazard assessment first
Priority controls
- Eliminate or reduce dust/vapour at the source before relying on a respirator.
- Use appropriate wet methods, HEPA capture, local exhaust and isolation.
- Read the SDS and exact product instructions.
What is not sufficient
- Choosing a respirator by appearance or colour is not a selection method.
Stop if
- Stop if the contaminant is unknown, air is inadequate, a seal is impossible or symptoms occur.
Final selection depends on contaminant, concentration, SDS, fit and the applicable program. An air-purifying respirator does not supply oxygen.
Conceptual illustrations
Original conceptual illustrations; HTML text and the exact product data sheet prevail.
Dimensions, clearances, times and products specified by the exact manufacturer replace any general value.
Prepare the project
- Confirm the project is truly DIY-appropriate for your situation and municipality.
- Read all product instructions and keep receipts and lot numbers.
- Provide a clean area for cutting, waste sorting and tool storage.
- Photograph the initial condition and record important measurements or defects.
- Confirm the exact product data sheet, ambient conditions and wait times.
Tools to plan for
- ●Tape measure
- ●Laser or spirit level
- ●Utility knife
- ●Smoothing roller or knife
- ○Suitable saw (optional)
- ○Portable work light (optional)
- ○Phone or camera for documentation (optional)
Protective equipment
- Safety glasses
- Suitable gloves
Detailed execution
Illustrated steps
HTML text is the reference; images clarify the action and sequence.
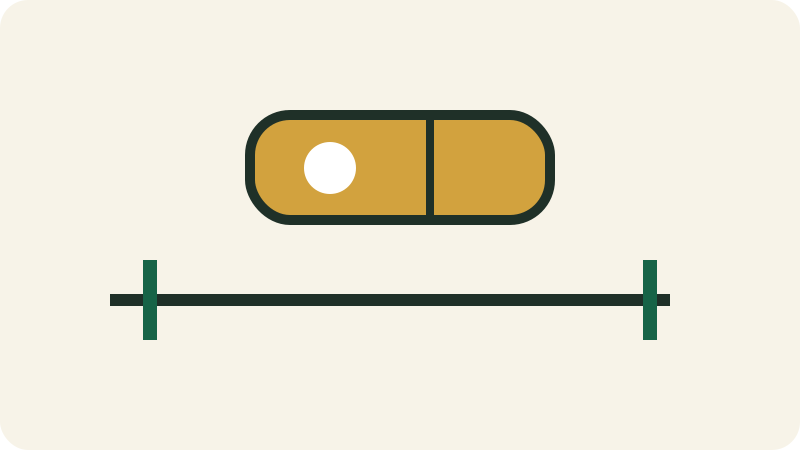
1
Measure the wall, choose orientation and balance the first and
A starting error repeats across the entire installation.
- Measure the wall, choose orientation and balance the first and last boards.
- Measure each dimension at least twice and verify square, level or slope as appropriate.
- Mark reference lines independent of walls that may be irregular.
- Dry-fit the first pieces and adjust the layout to avoid an overly narrow final piece.
Quality check
Marks are visible, consistent and confirmed by a second measurement.
Stop if
Stop if variations exceed what the product or method can accommodate.
2
Locate studs, prepare the substrate and pre-paint joints that will
A starting error repeats across the entire installation.
- Locate studs, prepare the substrate and pre-paint joints that will remain visible if needed.
- Measure each dimension at least twice and verify square, level or slope as appropriate.
- Mark reference lines independent of walls that may be irregular.
- Dry-fit the first pieces and adjust the layout to avoid an overly narrow final piece.
Quality check
Marks are visible, consistent and confirmed by a second measurement.
Stop if
Stop if variations exceed what the product or method can accommodate.
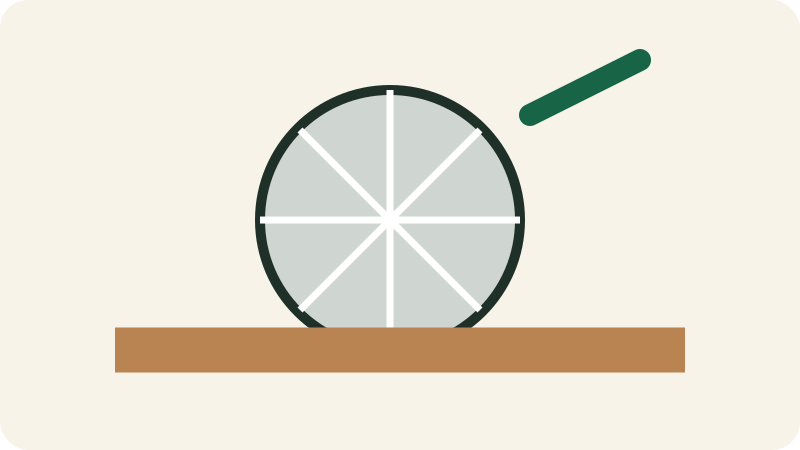
3
Cut boards, dry-fit and plan details around outlets and openings
A clean cut improves fit and reduces visible rework.
- Cut boards, dry-fit and plan details around outlets and openings.
- Confirm measurement, piece orientation and waste side before cutting.
- Support the piece and use a blade suited to the material.
- Test on scrap when finish quality or chipping is critical.
Quality check
The cut is straight, without excessive chipping, and the piece fits without force.
Stop if
Stop if the piece contains a hidden service, unexpected glass or suspect material.
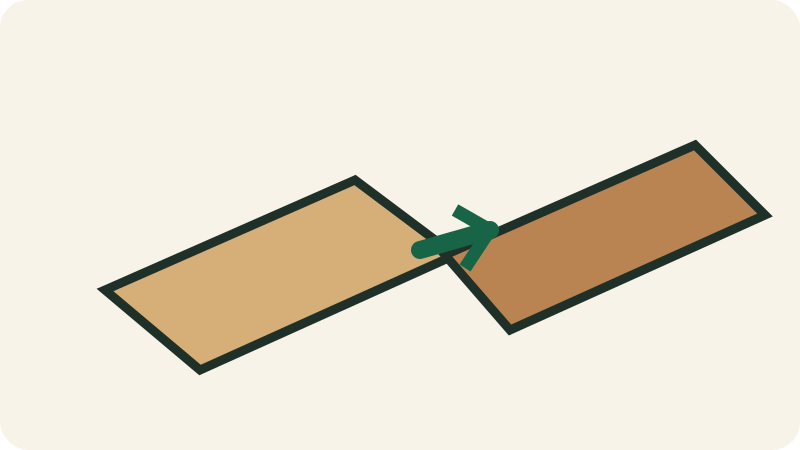
4
Install from a level line, fasten into backing and verify
Forced assembly often damages profiles and compounds errors.
- Install from a level line, fasten into backing and verify each row before continuing.
- Start from a stable reference line and maintain required clearances.
- Verify each joint is fully engaged before continuing.
- Stagger joints and blend batches or patterns when recommended.
Quality check
Joints are closed, the surface remains flat and perimeter clearances remain free.
Stop if
Stop if pieces require excessive force or alignment drifts.
5
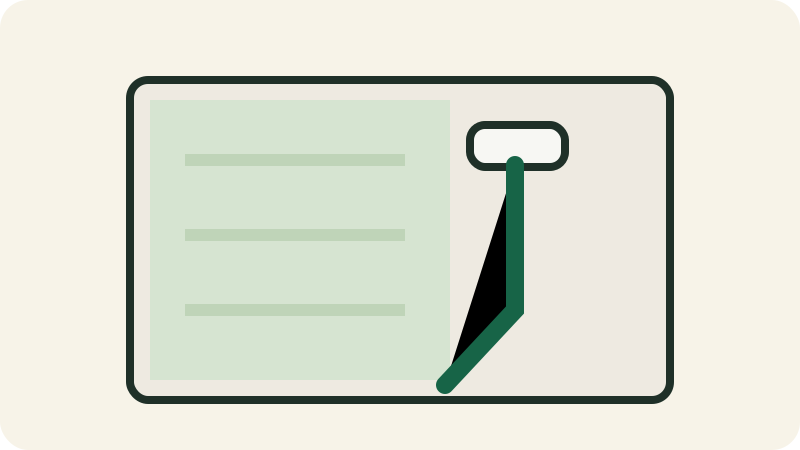
Add edge trim, fill holes and finish without filling functional
Thin consistent coats cure better than one overloaded coat.
- Add edge trim, fill holes and finish without filling functional clearances.
- Mix according to the data sheet without unnecessarily introducing bubbles.
- Work in manageable sections, maintaining a wet edge when required.
- Check coverage under raking light and respect time between coats.
Quality check
The film or layer is even, without holidays, overload or abnormal marks.
Stop if
Stop if the product sets too quickly, blisters, reacts with the substrate or weather changes.
Final quality checklist
- The result is stable, clean and consistent with the product data sheet.
- Transitions and edges are finished without concealing a defect.
- Photos, leftover quantities and maintenance are recorded.
- Compare the result with initial photos and the product data-sheet criteria.
- Inspect from several angles and lighting conditions before putting tools away.
Common mistakes
Starting without a test
Consequence: An incompatibility is found too late.
Correction: Make a discreet test or dry-fit.
Concealing a defect
Consequence: The problem returns after finishing.
Correction: Correct and document before closing.
Ignoring instructions
Consequence: Warranty, adhesion or durability are compromised.
Correction: Use exact product values.
Check whether a price or quote makes sense
Compare materials, preparation, labour, rental, delivery, disposal, tax and contingency separately.
Often excluded
- delivery
- rental
- disposal
- hidden preparation
- touch-ups
Red flags
- lump sum without quantities
- no preparation described
- disproportionate deposit
- unidentified material or product
- no terms for unforeseen conditions
Indicative DIY hours: 6–12 h
To compare a quote, request quantities, labour rate or allowance, preparation, exact products, exclusions and the method for handling unforeseen conditions.
Maintenance and follow-up
- Inspect after the first week and after one season of use.
- Keep data sheets, photos and touch-up products.
- Correct small movement or joint issues before they worsen.
Inspection
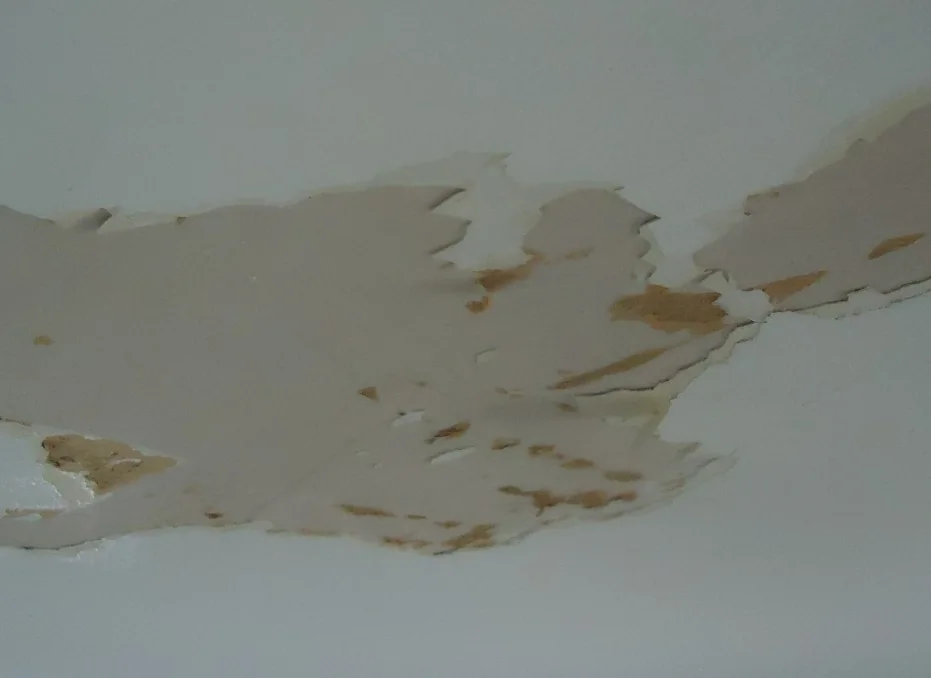
Full defect libraryDefects to recognize before, during and after this project
Defects homeowners often encounter on this type of project. Some records use credited real photos; others use conceptual references. Symptoms and real-world context remain the reference.
Understand the system
All guidesUseful guides for this project
Related path
Continue with the right tools
These links connect this page to the next useful checks and decisions without repeating the full content.
Measure and organize roomsKeep dimensions, levels, openings and surfaces before purchasing.Open →Compare materialsCompare material families by use, limits, care and cost.Open →Prepare the shopping listGroup materials, tools, parts, quantities, prices and store by project.Open →Compare price observationsCheck dated prices before turning an estimate into a purchase.Open →Choose the required toolsReview the tool dictionary and intended uses before starting.Open →
V14
Systems to check before closing the work
V14 connects envelope, air, fire, structure, water and code instead of treating each project in isolation.
V15
Remaining system checks not to miss
V15 covers issues that can block a project, cause a loss or become expensive once concealed.