
Substrate preparation and actual product yield.
Paint an interior room
Detailed DIY guide to paint an interior room, with calculator, tools, materials, quality checks and common mistakes.
Prepared by RenoAtlas.ca · Content reviewed: 2026-08-02 · editorial method
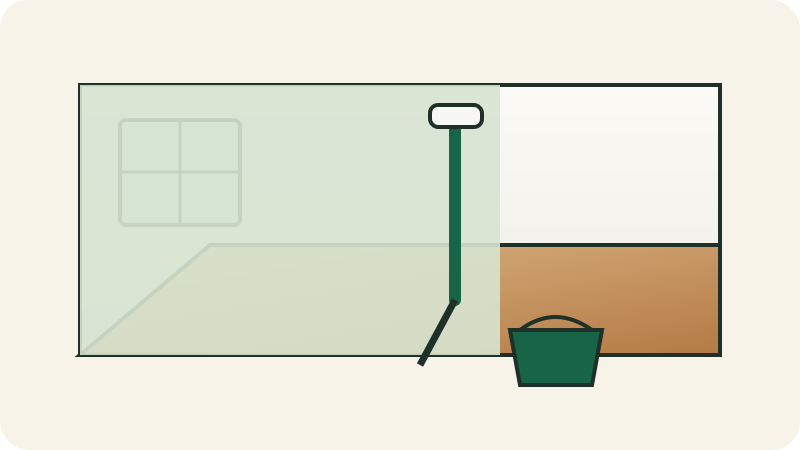
Buying from gross area alone.
Test suspect coatings before sanding.
Calculate
Budget estimator
Enter local prices or quotes in Canadian dollars. No data is sent to a server.
Dated prices
All pricesCompare before buying
| Retailer / product | Location / date | Price | Unit price | |
|---|---|---|---|---|
| interior primer | ||||
| CanacApprêt BIN 3,78 L | L’Ancienne-Lorette / Québec web price2026-08-01 | 113.99 $ / pail | 30.16 $ / L | Verify |
| interior eggshell paint | ||||
| RONABoomerang recycled interior paint, 3.78 L | Scarborough — RONA+ Golden Mile2026-08-01 | 29.99 $ / pail | 7.93 $ / L | Verify |
| Home Depot CanadaBEHR Premium Plus interior, 3.79 L | Online — default location2026-08-01 | 48.47 $ / pail | 12.79 $ / L | Verify |
Public observations only. Select your store and verify stock, taxes, delivery and current price.
Specialized equipment
All ratesPossible rentals for this project
Paint sprayer
Confirm capacity, accessories, transport, deposit, fuel and damage waiver.
Dawson RentalsWinnipeg, MB · 2026-08-01
Half day85.00 $Day115.00 $
Dated snapshotPressure washer
Confirm capacity, accessories, transport, deposit, fuel and damage waiver.
No public rate in the database; request a local quote.
Rates often exclude tax, delivery, fuel, accessories, deposit and damage waiver. Confirm before booking.
Respiratory protection
Full mask guideSelect for the hazard, never by appearance
Possible hazards
- vapours or aerosols depending on product
sds specific cartridgeventilation
Priority controls
- Eliminate or reduce dust/vapour at the source before relying on a respirator.
- Use appropriate wet methods, HEPA capture, local exhaust and isolation.
- Read the SDS and exact product instructions.
What is not sufficient
- A particulate N95/P100 does not protect against vapours.
Stop if
- Stop for dizziness, irritation, strong odour, inadequate ventilation or a product requiring professional protection.
Final selection depends on contaminant, concentration, SDS, fit and the applicable program. An air-purifying respirator does not supply oxygen.
Conceptual illustrations
Original conceptual illustrations; HTML text and the exact product data sheet prevail.
Dimensions, clearances, times and products specified by the exact manufacturer replace any general value.
Prepare the project
- Confirm the project is truly DIY-appropriate for your situation and municipality.
- Read all product instructions and keep receipts and lot numbers.
- Provide a clean area for cutting, waste sorting and tool storage.
- Photograph the initial condition and record important measurements or defects.
- Confirm the exact product data sheet, ambient conditions and wait times.
Tools to plan for
- ●Tape measure
- ●Non-slip drop cloths
- ●Scraper and putty knife
- ●Sanding block
- ●Vacuum
- ●Suitable brush and roller
- ○Extension pole (optional)
- ○Portable work light (optional)
- ○Phone or camera for documentation (optional)
Protective equipment
- Safety glasses
- Product-resistant gloves
- Adequate ventilation
Detailed execution
Illustrated steps
HTML text is the reference; images clarify the action and sequence.

1
Confirm colour, sheen and compatibility
A clear scope prevents wasted purchases and rework.
- Confirm colour, sheen and compatibility; apply a sample and view it under actual lighting.
- Read the exact product data sheet and note limits, wait times and application conditions.
- Measure existing conditions in more than one location and record variations before buying.
- Allow for waste, accessories, delivery, disposal and a modest contingency.
Quality check
Scope, quantities and sequence are written down before work starts.
Stop if
Stop if the scope affects structure, a regulated system or an unevaluated suspect material.
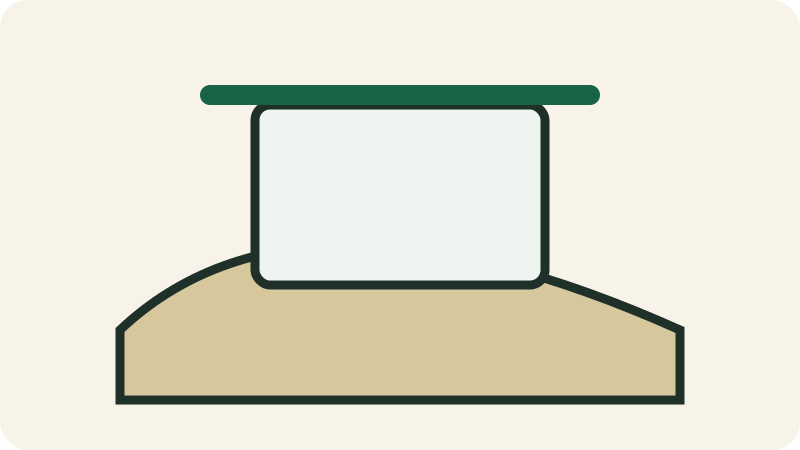
2
Remove or group furniture, remove cover plates and securely protect
Protection costs less than repairing adjacent surfaces.
- Remove or group furniture, remove cover plates and securely protect floors, openings and fixtures.
- Remove what can be removed instead of only masking it.
- Cover surfaces with non-slip protection and isolate dusty areas.
- Label and store hardware in separate containers.
Quality check
No fragile surface, opening or travel path is unnecessarily exposed.
Stop if
Stop if removal reveals suspect material, moisture or hidden damage.

3
Wash, degrease, repair defects, sand lightly and vacuum all dust
Dust, grease and residue reduce adhesion and hide defects.
- Wash, degrease, repair defects, sand lightly and vacuum all dust.
- Remove large debris, then vacuum with a suitable filter.
- Use a cleaner compatible with the substrate and rinse when required.
- Allow the surface to dry fully before coating or bonding.
Quality check
A clean white cloth picks up almost no dust or grease.
Stop if
Stop if stains return, the substrate remains damp or an unusual odour persists.

4
Prime repairs, stains, major colour changes or new substrates with
A suitable primer evens absorption and blocks certain contaminants.
- Prime repairs, stains, major colour changes or new substrates with the appropriate product.
- Choose primer based on the substrate, stain and finish product.
- Apply an even coat without overloading corners or leaving holidays.
- Respect temperature, ventilation and recoat time on the container.
Quality check
The surface has an even dry film with no wet glossy areas.
Stop if
Stop if the primer wrinkles, blisters or fails to dry in the stated range.

5
Brush around edges, then roll walls in sections while maintaining
Thin consistent coats cure better than one overloaded coat.
- Brush around edges, then roll walls in sections while maintaining a wet edge.
- Mix according to the data sheet without unnecessarily introducing bubbles.
- Work in manageable sections, maintaining a wet edge when required.
- Check coverage under raking light and respect time between coats.
Quality check
The film or layer is even, without holidays, overload or abnormal marks.
Stop if
Stop if the product sets too quickly, blisters, reacts with the substrate or weather changes.

6
Respect recoat time, apply the next coat, remove tape at
Rushing the next step can trap moisture or cause movement.
- Respect recoat time, apply the next coat, remove tape at the proper time and inspect under several lighting conditions.
- Maintain the temperature and humidity conditions required by the manufacturer.
- Keep materials in the prescribed position, unopened if required by the data sheet.
- Assess the material condition, not only elapsed time, before proceeding.
Quality check
The material is stable and the product has reached the required condition for the next step.
Stop if
Stop if ambient conditions leave the permitted range or the surface remains tacky or damp.
Final quality checklist
- Uniform coverage under normal and raking light.
- Clean edges with no runs or film torn by tape.
- Product cured before cleaning or return to service.
- Compare the result with initial photos and the product data-sheet criteria.
- Inspect from several angles and lighting conditions before putting tools away.
Common mistakes
Painting a contaminated surface
Consequence: Paint bonds poorly or stains through.
Correction: Clean, rinse and dry before recoating.
Overloading the roller
Consequence: Runs, uneven texture and slow drying.
Correction: Remove excess and apply even coats.
Removing tape too late
Consequence: The dry film can tear.
Correction: Remove at the recommended time and score the edge if needed.
Check whether a price or quote makes sense
Compare materials, preparation, labour, rental, delivery, disposal, tax and contingency separately.
Often excluded
- delivery
- rental
- disposal
- hidden preparation
- touch-ups
Red flags
- lump sum without quantities
- no preparation described
- disproportionate deposit
- unidentified material or product
- no terms for unforeseen conditions
Indicative DIY hours: 6–12 h
To compare a quote, request quantities, labour rate or allowance, preparation, exact products, exclusions and the method for handling unforeseen conditions.
Maintenance and follow-up
- Keep a small labelled container for touch-ups.
- Clean with a compatible product only after full cure.
- Inspect joints and damp areas annually.
Inspection
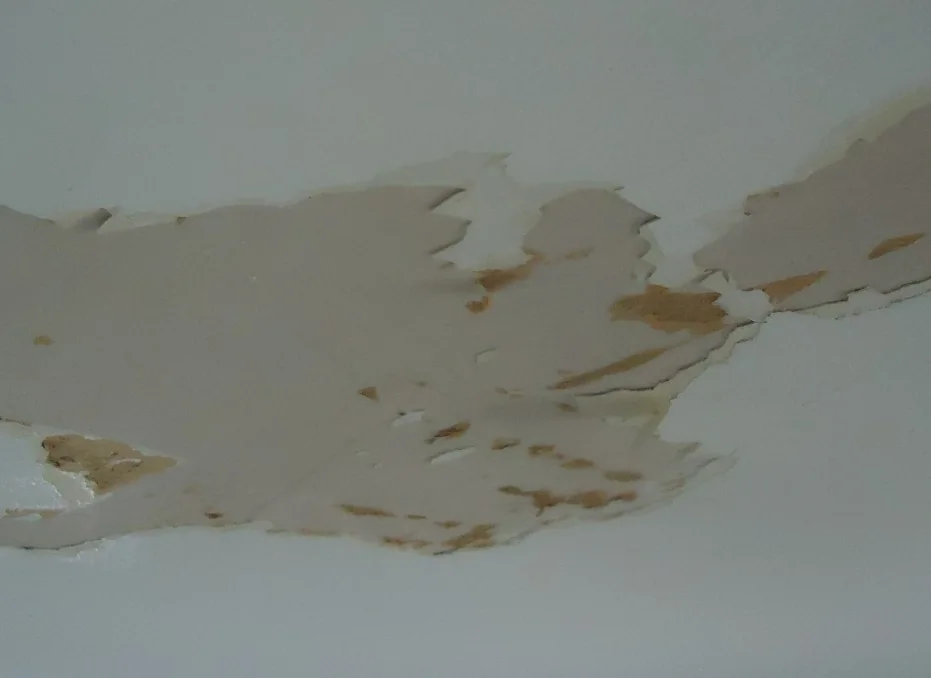
Full defect libraryDefects to recognize before, during and after this project
Defects homeowners often encounter on this type of project. Some records use credited real photos; others use conceptual references. Symptoms and real-world context remain the reference.
Related path
Continue with the right tools
These links connect this page to the next useful checks and decisions without repeating the full content.
Measure and organize roomsKeep dimensions, levels, openings and surfaces before purchasing.Open →Compare materialsCompare material families by use, limits, care and cost.Open →Prepare the shopping listGroup materials, tools, parts, quantities, prices and store by project.Open →Compare price observationsCheck dated prices before turning an estimate into a purchase.Open →Choose the required toolsReview the tool dictionary and intended uses before starting.Open →
V16
Advanced diagnostics to cross-check
V16 connects water, soil, climate, safety, materials and seasonal use to existing projects.