
Measure existing conditions before buying.
Install sod
Detailed DIY guide to install sod, with calculator, tools, materials, quality checks and common mistakes.
Prepared by RenoAtlas.ca · Content reviewed: 2026-08-02 · editorial method

Forgetting waste, access and hidden services.
Permit, structure or regulated system.
Calculate
Budget estimator
Enter local prices or quotes in Canadian dollars. No data is sent to a server.
Specialized equipment
All ratesPossible rentals for this project
Plate compactor
Confirm capacity, accessories, transport, deposit, fuel and damage waiver.
Rogers Rent-AllCalgary, AB · 2026-08-01
4 hr60.00 $Day75.00 $Week275.00 $Month600.00 $
Dated snapshotAble Equipment RentalsBurnaby, BC · 2026-08-01
Day45.00 $Week180.00 $Month450.00 $
Older guide — verifyDawson RentalsWinnipeg, MB · 2026-08-01
Half day40.00 $Day60.00 $
Dated snapshotBenchmark RentalsSaskatchewan, SK · 2026-08-01
4 hr50.00 $Day75.00 $Week280.00 $Month775.00 $
Dated snapshotMini excavator
Confirm capacity, accessories, transport, deposit, fuel and damage waiver.
Able Equipment RentalsBurnaby, BC · 2026-08-01
Day200.00 $Week800.00 $Month2,400.00 $
Older guide — verifyWalk-behind trencher
Confirm capacity, accessories, transport, deposit, fuel and damage waiver.
Dawson RentalsWinnipeg, MB · 2026-08-01
Day165.00 $
Dated snapshotRates often exclude tax, delivery, fuel, accessories, deposit and damage waiver. Confirm before booking.
Respiratory protection
Full mask guideSelect for the hazard, never by appearance
Possible hazards
- task-specific dust or products to confirm
hazard assessment first
Priority controls
- Eliminate or reduce dust/vapour at the source before relying on a respirator.
- Use appropriate wet methods, HEPA capture, local exhaust and isolation.
- Read the SDS and exact product instructions.
What is not sufficient
- Choosing a respirator by appearance or colour is not a selection method.
Stop if
- Stop if the contaminant is unknown, air is inadequate, a seal is impossible or symptoms occur.
Final selection depends on contaminant, concentration, SDS, fit and the applicable program. An air-purifying respirator does not supply oxygen.
Conceptual illustrations
Original conceptual illustrations; HTML text and the exact product data sheet prevail.
Dimensions, clearances, times and products specified by the exact manufacturer replace any general value.
Prepare the project
- Have underground services located before any digging, even shallow work.
- Verify slope, drainage, property limits and equipment access.
- Choose a weather window suitable for excavation, seeding, compaction or curing.
- Photograph the initial condition and record important measurements or defects.
- Confirm the exact product data sheet, ambient conditions and wait times.
Tools to plan for
- ●Tape measure
- ●Stakes and string line
- ●Shovel
- ●Rake
- ●Wheelbarrow
- ●Level
- ○Plate compactor (optional)
- ○Portable work light (optional)
- ○Phone or camera for documentation (optional)
Protective equipment
- Work gloves
- Safety footwear
- Hearing protection with powered equipment
- Sun protection
Detailed execution
Illustrated steps
HTML text is the reference; images clarify the action and sequence.

1
Choose sod suited to climate, sun and use and schedule
A clear scope prevents wasted purchases and rework.
- Choose sod suited to climate, sun and use and schedule delivery for installation day.
- Read the exact product data sheet and note limits, wait times and application conditions.
- Measure existing conditions in more than one location and record variations before buying.
- Allow for waste, accessories, delivery, disposal and a modest contingency.
Quality check
Scope, quantities and sequence are written down before work starts.
Stop if
Stop if the scope affects structure, a regulated system or an unevaluated suspect material.

2
Remove weeds and debris, correct drainage and loosen the upper
A finish cannot compensate for a moving, weak or uneven substrate.
- Remove weeds and debris, correct drainage and loosen the upper soil layer.
- Remove only loose or damaged material back to a sound substrate.
- Use a compatible repair product and respect maximum thickness per coat.
- Sand or level gradually without gouging sound areas.
Quality check
The substrate is dry, sound, clean and within the finish product's tolerance.
Stop if
Stop if a crack moves, the substrate crumbles deeply or moisture remains unresolved.

3
Add and level required soil, then firm lightly without creating
Most finishes follow substrate defects rather than hiding them.
- Add and level required soil, then firm lightly without creating hard areas.
- Check with a straightedge, level or string lines suited to the project scale.
- Correct small areas and feather gradually into existing surfaces.
- Repeat measurements after compaction, drying or fastening.
Quality check
Variations are within product tolerance and intended slopes direct water properly.
Stop if
Stop if correction would require structural changes or conceal an active cause.
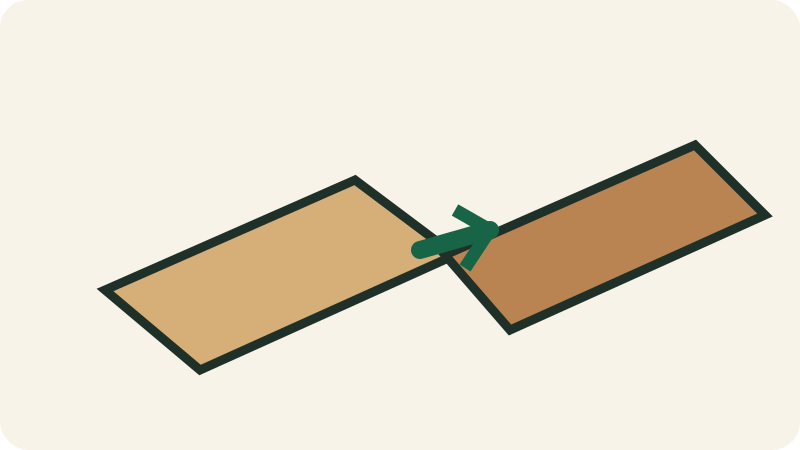
4
Lay rolls immediately in a staggered pattern with tight joints
Forced assembly often damages profiles and compounds errors.
- Lay rolls immediately in a staggered pattern with tight joints, without overlap or stretching.
- Start from a stable reference line and maintain required clearances.
- Verify each joint is fully engaged before continuing.
- Stagger joints and blend batches or patterns when recommended.
Quality check
Joints are closed, the surface remains flat and perimeter clearances remain free.
Stop if
Stop if pieces require excessive force or alignment drifts.
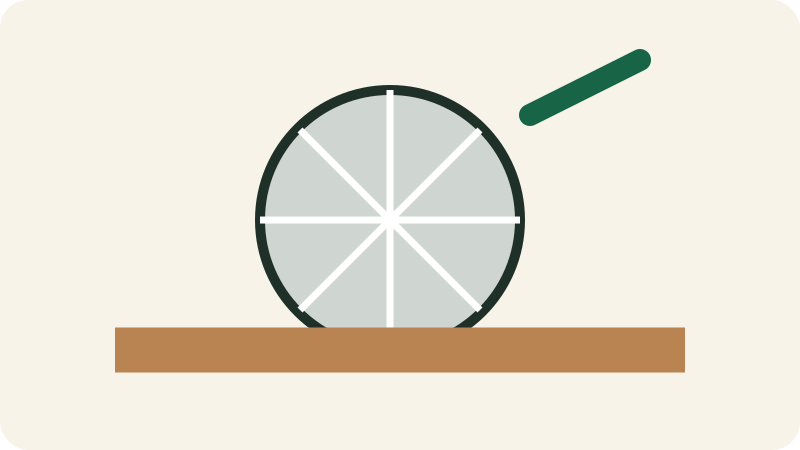
5
Cut around obstacles, avoid narrow strips and roll lightly to
A clean cut improves fit and reduces visible rework.
- Cut around obstacles, avoid narrow strips and roll lightly to ensure contact.
- Confirm measurement, piece orientation and waste side before cutting.
- Support the piece and use a blade suited to the material.
- Test on scrap when finish quality or chipping is critical.
Quality check
The cut is straight, without excessive chipping, and the piece fits without force.
Stop if
Stop if the piece contains a hidden service, unexpected glass or suspect material.
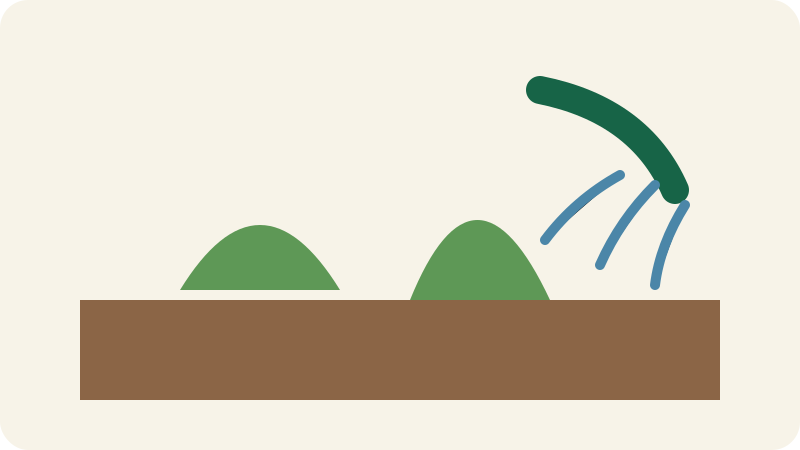
6
Water deeply without runoff and maintain consistent moisture during rooting
Consistent moisture supports rooting without washing out or saturating the soil.
- Water deeply without runoff and maintain consistent moisture during rooting.
- Water gently to moisten the area without causing runoff.
- Adjust frequency for weather, soil, shade and establishment stage.
- Gradually reduce frequency as roots establish.
Quality check
Soil is moist below the surface without persistent puddles or erosion.
Stop if
Stop and correct drainage if water remains on the surface or soil becomes muddy.
7
Limit traffic, check rooting before first mowing and gradually adjust
Forced assembly often damages profiles and compounds errors.
- Limit traffic, check rooting before first mowing and gradually adjust watering.
- Start from a stable reference line and maintain required clearances.
- Verify each joint is fully engaged before continuing.
- Stagger joints and blend batches or patterns when recommended.
Quality check
Joints are closed, the surface remains flat and perimeter clearances remain free.
Stop if
Stop if pieces require excessive force or alignment drifts.
Final quality checklist
- Grade and drainage direct water away from sensitive areas.
- Uniform thickness and stable edges.
- No service, trunk, siding or opening buried or blocked.
- Compare the result with initial photos and the product data-sheet criteria.
- Inspect from several angles and lighting conditions before putting tools away.
Common mistakes
Working saturated soil
Consequence: Ruts, uneven compaction and settlement.
Correction: Wait for drainage and correct water issues.
Forgetting buried services
Consequence: Injury risk and costly repair.
Correction: Have services located before digging.
Uneven thickness
Consequence: Wear, weeds or movement.
Correction: Measure at several points and correct.
Check whether a price or quote makes sense
Compare materials, preparation, labour, rental, delivery, disposal, tax and contingency separately.
Often excluded
- delivery
- rental
- disposal
- hidden preparation
- touch-ups
- excavation
- excess soil
- equipment access
Red flags
- lump sum without quantities
- no preparation described
- disproportionate deposit
- unidentified material or product
- no terms for unforeseen conditions
Indicative DIY hours: 10–30 h
To compare a quote, request quantities, labour rate or allowance, preparation, exact products, exclusions and the method for handling unforeseen conditions.
Maintenance and follow-up
- Inspect after heavy rain, thaw and the first full season.
- Correct settlement or erosion promptly.
- Renew or maintain the material according to its natural cycle.
Inspection
Full defect libraryDefects to recognize before, during and after this project
Defects homeowners often encounter on this type of project. Some records use credited real photos; others use conceptual references. Symptoms and real-world context remain the reference.
Leaning, cracking or moving retaining wall
A retaining wall holds soil and sometimes loads; bulging, overturning or blocked drainage can precede failure.
- Leaning wall, bulge, open joints, shifted base, water or soil pressure.

Septic-system or well warning signs
Odours, soggy ground, cloudy water or rapid pump cycling require assessment specific to private systems.
- Odour, backup, unusually green grass, soggy soil, cloudy water or pressure variation.
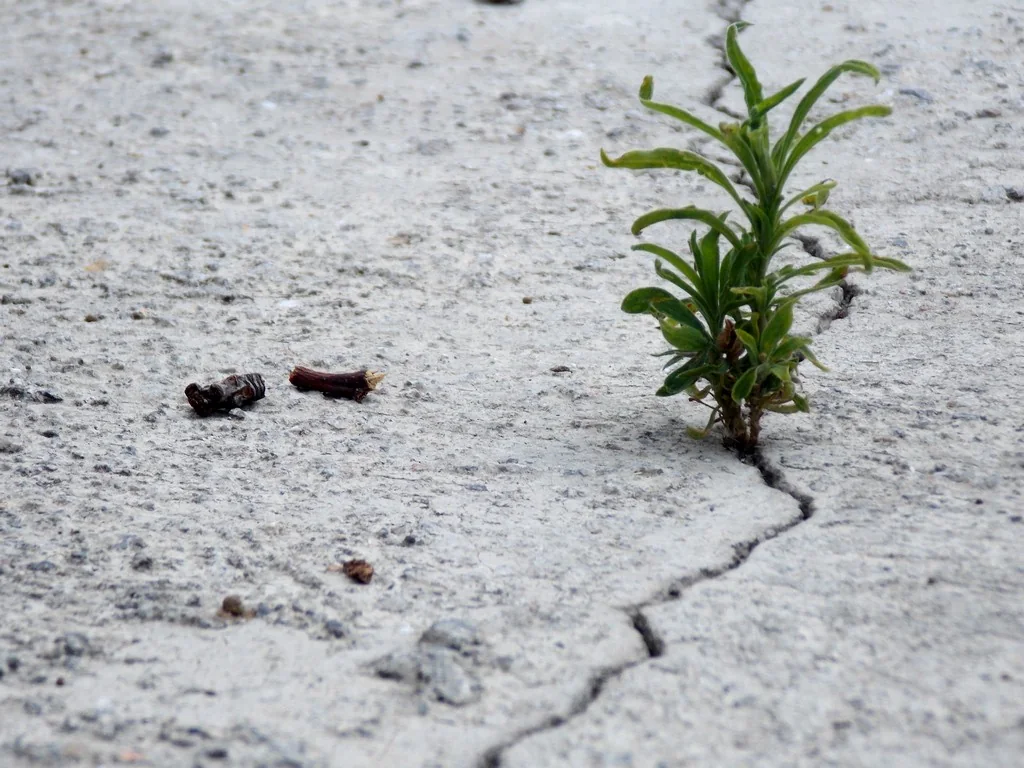
Foundation cracks and differential movement
Not all cracks are equal: location, width, displacement and associated moisture guide urgency.
- Vertical, diagonal or horizontal cracks.
- Surface displacement, sticking doors, sloped floors or repeated new cracks.
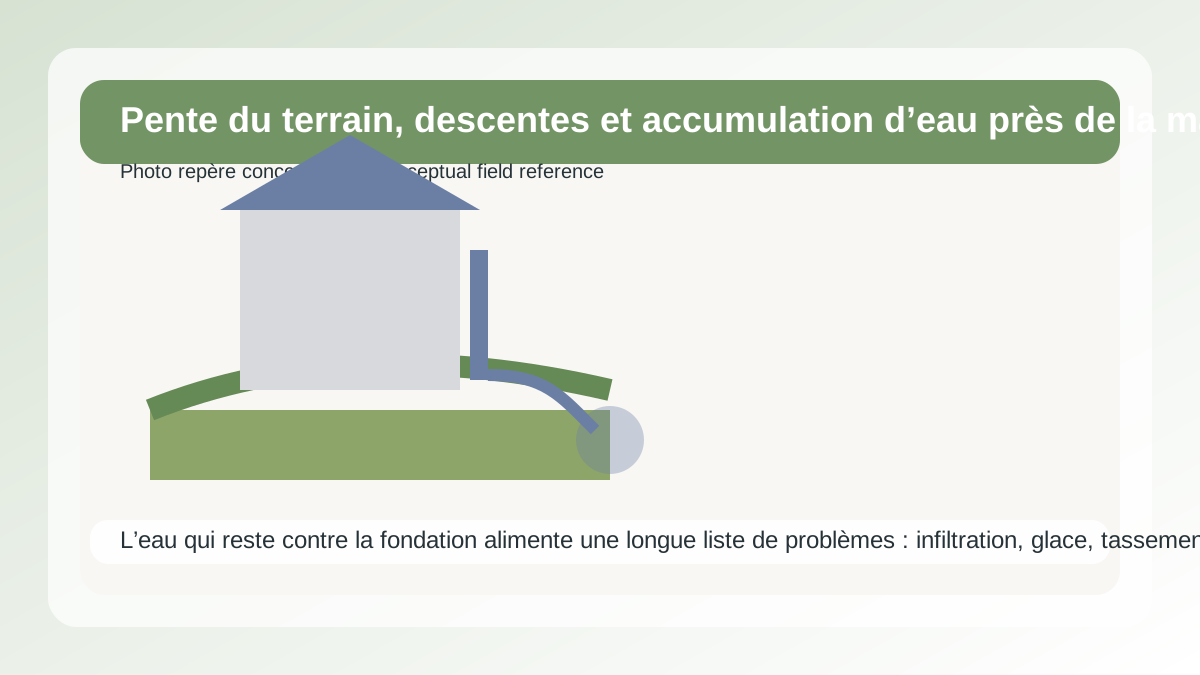
Grading, downspouts and water collecting near the house
Water that stays against the foundation feeds a long list of issues: leakage, ice, settlement, rot and premature deterioration.
- Persistent puddles, splash marks on lower cladding, sunken soil near the home.
- A downspout discharging at the wall, erosion, full window wells or recurring frost.
Understand the system
All guidesUseful guides for this project
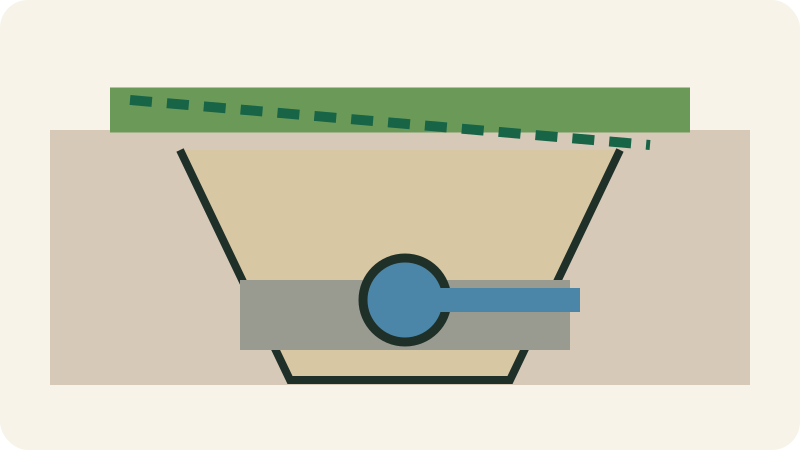
Asphalt, concrete, gravel or pavers: choose a driveway
Compare cost, drainage, frost, repairability, maintenance and base quality.
Checked: 2026-08-01
Lawn types for Canadian climates
Choose bluegrass, fescue, ryegrass, microclover or prairie by sun, water and use.
Checked: 2026-08-01
Pressure-treated wood or composite: how to choose
Compare structure, surface, moisture, heat, maintenance, fasteners and life-cycle cost.
Checked: 2026-08-02Related path
Continue with the right tools
These links connect this page to the next useful checks and decisions without repeating the full content.
Coordinate site and utilitiesConnect access, grading, drainage, excavation, utilities and interfaces before work.Open →Check exterior permitsIdentify triggers related to structures, pools, drainage and site changes.Open →Plan a garage buildStructure footprint, slab, enclosure, utilities, budget and closeout.Open →Screen site constraintsOrganize official sources before fixing layout or investment.Open →Compare equipment rentalsReview specialized equipment, intended uses and dated rental observations.Open →