
Measure existing conditions before buying.
Test for radon
Detailed DIY guide to test for radon, with calculator, tools, materials, quality checks and common mistakes.
Prepared by RenoAtlas.ca · Content reviewed: 2026-08-02 · editorial method
Forgetting waste, access and hidden services.
Permit, structure or regulated system.
Calculate
Budget estimator
Enter local prices or quotes in Canadian dollars. No data is sent to a server.
Respiratory protection
Full mask guideSelect for the hazard, never by appearance
Possible hazards
- task-specific dust or products to confirm
hazard assessment first
Priority controls
- Eliminate or reduce dust/vapour at the source before relying on a respirator.
- Use appropriate wet methods, HEPA capture, local exhaust and isolation.
- Read the SDS and exact product instructions.
What is not sufficient
- Choosing a respirator by appearance or colour is not a selection method.
Stop if
- Stop if the contaminant is unknown, air is inadequate, a seal is impossible or symptoms occur.
Final selection depends on contaminant, concentration, SDS, fit and the applicable program. An air-purifying respirator does not supply oxygen.
Conceptual illustrations
Original conceptual illustrations; HTML text and the exact product data sheet prevail.
Testing is DIY; permanent mitigation may not be and must follow applicable requirements.
Prepare the project
- Choose a recognized device or laboratory and follow the specified duration and placement exactly.
- Maintain closed-house conditions when required by the method.
- Plan next steps if the result exceeds the applicable guideline.
- Photograph the initial condition and record important measurements or defects.
- Confirm the exact product data sheet, ambient conditions and wait times.
Tools to plan for
- ●Tape measure
- ●Level
- ●Suitable hand tools
- ●Approved radon detector
- ●Timer or calendar
- ○House plan (optional)
- ○Portable work light (optional)
- ○Phone or camera for documentation (optional)
Protective equipment
- Safety glasses
- Suitable gloves
Detailed execution
Illustrated steps
HTML text is the reference; images clarify the action and sequence.

1
Choose a recognized device or laboratory and read duration, floor
A clear scope prevents wasted purchases and rework.
- Choose a recognized device or laboratory and read duration, floor and closed-house requirements.
- Read the exact product data sheet and note limits, wait times and application conditions.
- Measure existing conditions in more than one location and record variations before buying.
- Allow for waste, accessories, delivery, disposal and a modest contingency.
Quality check
Scope, quantities and sequence are written down before work starts.
Stop if
Stop if the scope affects structure, a regulated system or an unevaluated suspect material.
2
Select an occupied location on the lowest level, away from
A clear scope prevents wasted purchases and rework.
- Select an occupied location on the lowest level, away from windows, exterior walls and moisture sources as specified.
- Read the exact product data sheet and note limits, wait times and application conditions.
- Measure existing conditions in more than one location and record variations before buying.
- Allow for waste, accessories, delivery, disposal and a modest contingency.
Quality check
Scope, quantities and sequence are written down before work starts.
Stop if
Stop if the scope affects structure, a regulated system or an unevaluated suspect material.
3
Place the device at the specified height, record date, time
Forced assembly often damages profiles and compounds errors.
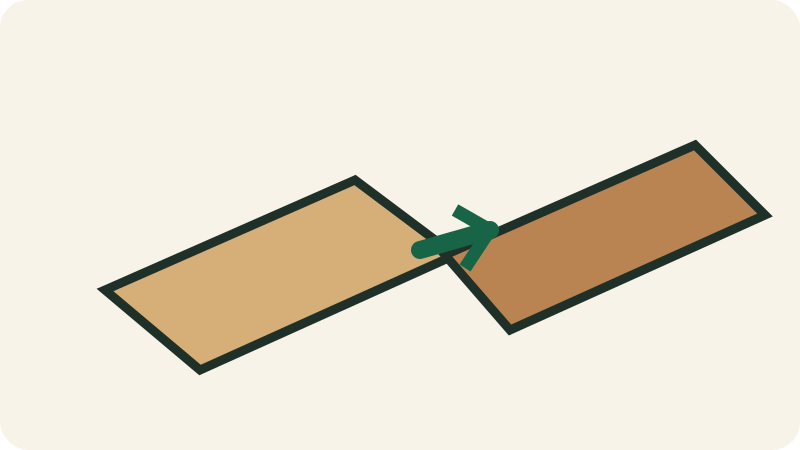
- Place the device at the specified height, record date, time, location and conditions, then avoid moving it.
- Start from a stable reference line and maintain required clearances.
- Verify each joint is fully engaged before continuing.
- Stagger joints and blend batches or patterns when recommended.
Quality check
Joints are closed, the surface remains flat and perimeter clearances remain free.
Stop if
Stop if pieces require excessive force or alignment drifts.
4
Maintain required conditions throughout the test and record any unusual
A starting error repeats across the entire installation.
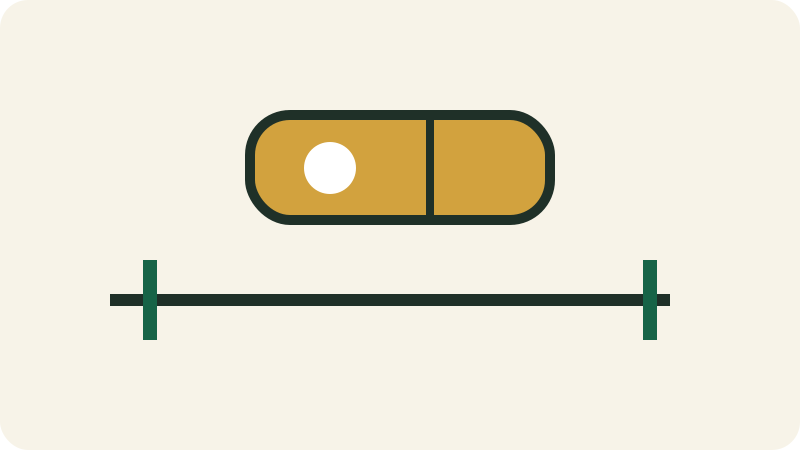
- Maintain required conditions throughout the test and record any unusual interruption.
- Measure each dimension at least twice and verify square, level or slope as appropriate.
- Mark reference lines independent of walls that may be irregular.
- Dry-fit the first pieces and adjust the layout to avoid an overly narrow final piece.
Quality check
Marks are visible, consistent and confirmed by a second measurement.
Stop if
Stop if variations exceed what the product or method can accommodate.
5
Close or return the device as directed, keep the report
A clear scope prevents wasted purchases and rework.
- Close or return the device as directed, keep the report and plan confirmation testing or mitigation if required.
- Read the exact product data sheet and note limits, wait times and application conditions.
- Measure existing conditions in more than one location and record variations before buying.
- Allow for waste, accessories, delivery, disposal and a modest contingency.
Quality check
Scope, quantities and sequence are written down before work starts.
Stop if
Stop if the scope affects structure, a regulated system or an unevaluated suspect material.
Final quality checklist
- Device placed at the correct height and away from drafts per the method.
- Full test period without movement or interruption.
- Result saved with dates, floor and conditions.
- Compare the result with initial photos and the product data-sheet criteria.
- Inspect from several angles and lighting conditions before putting tools away.
Common mistakes
Starting without a test
Consequence: An incompatibility is found too late.
Correction: Make a discreet test or dry-fit.
Concealing a defect
Consequence: The problem returns after finishing.
Correction: Correct and document before closing.
Ignoring instructions
Consequence: Warranty, adhesion or durability are compromised.
Correction: Use exact product values.
Check whether a price or quote makes sense
Compare materials, preparation, labour, rental, delivery, disposal, tax and contingency separately.
Often excluded
- delivery
- rental
- disposal
- hidden preparation
- touch-ups
Red flags
- lump sum without quantities
- no preparation described
- disproportionate deposit
- unidentified material or product
- no terms for unforeseen conditions
Indicative DIY hours: 4–8 h
To compare a quote, request quantities, labour rate or allowance, preparation, exact products, exclusions and the method for handling unforeseen conditions.
Maintenance and follow-up
- Inspect after the first week and after one season of use.
- Keep data sheets, photos and touch-up products.
- Correct small movement or joint issues before they worsen.
Inspection
Full defect libraryDefects to recognize before, during and after this project
Defects homeowners often encounter on this type of project. Some records use credited real photos; others use conceptual references. Symptoms and real-world context remain the reference.
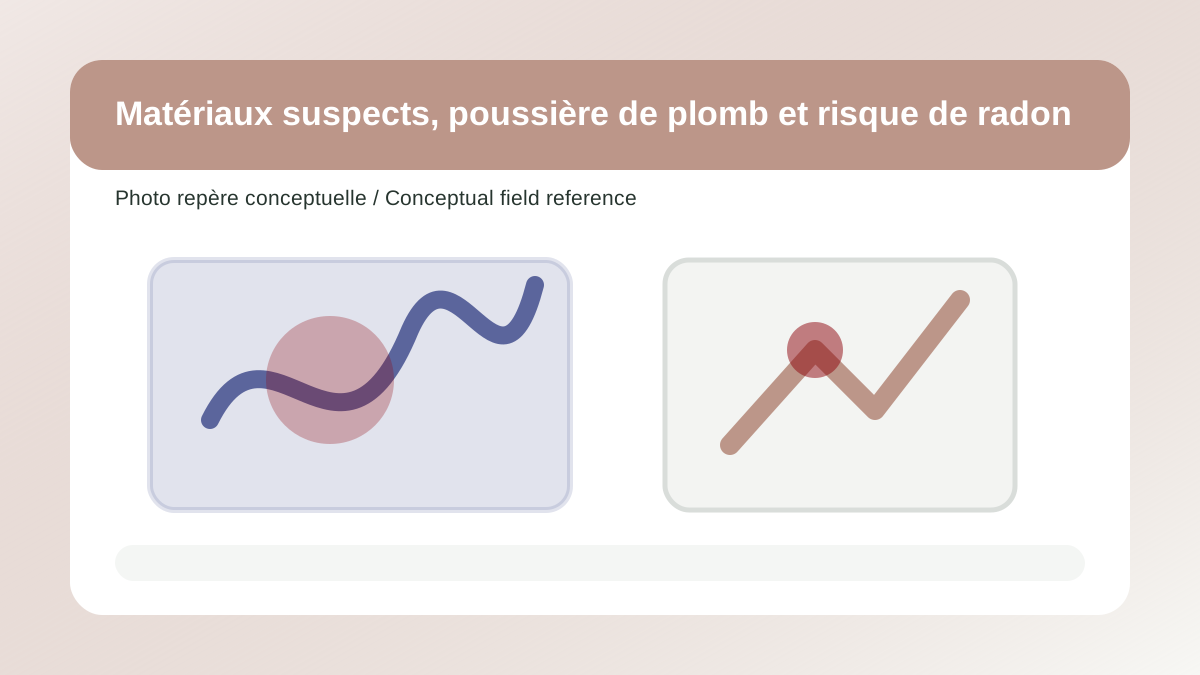
Suspect materials, lead dust and radon risk
Appearance alone cannot confirm asbestos, lead or radon; the correct response is to stop disturbance and use the appropriate testing method.
- Unknown older materials, very old paint, vermiculite insulation or elevated radon results.
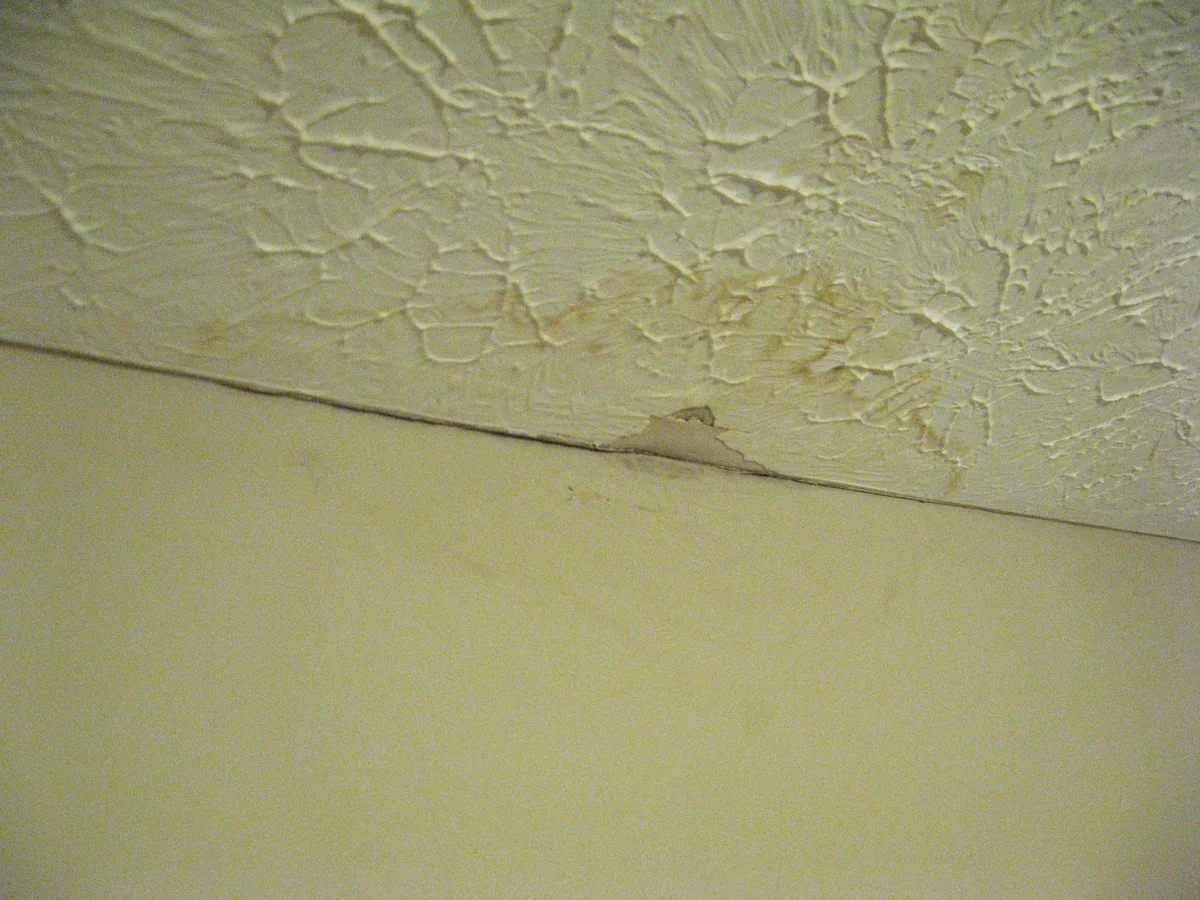
Water stains and active leaks
Rings, blistering paint, soft drywall or visible water signal a water path that must be traced before repairing finishes.
- Brown or yellow rings on ceilings or upper walls.
- Blistering paint, opening joints or soft drywall.
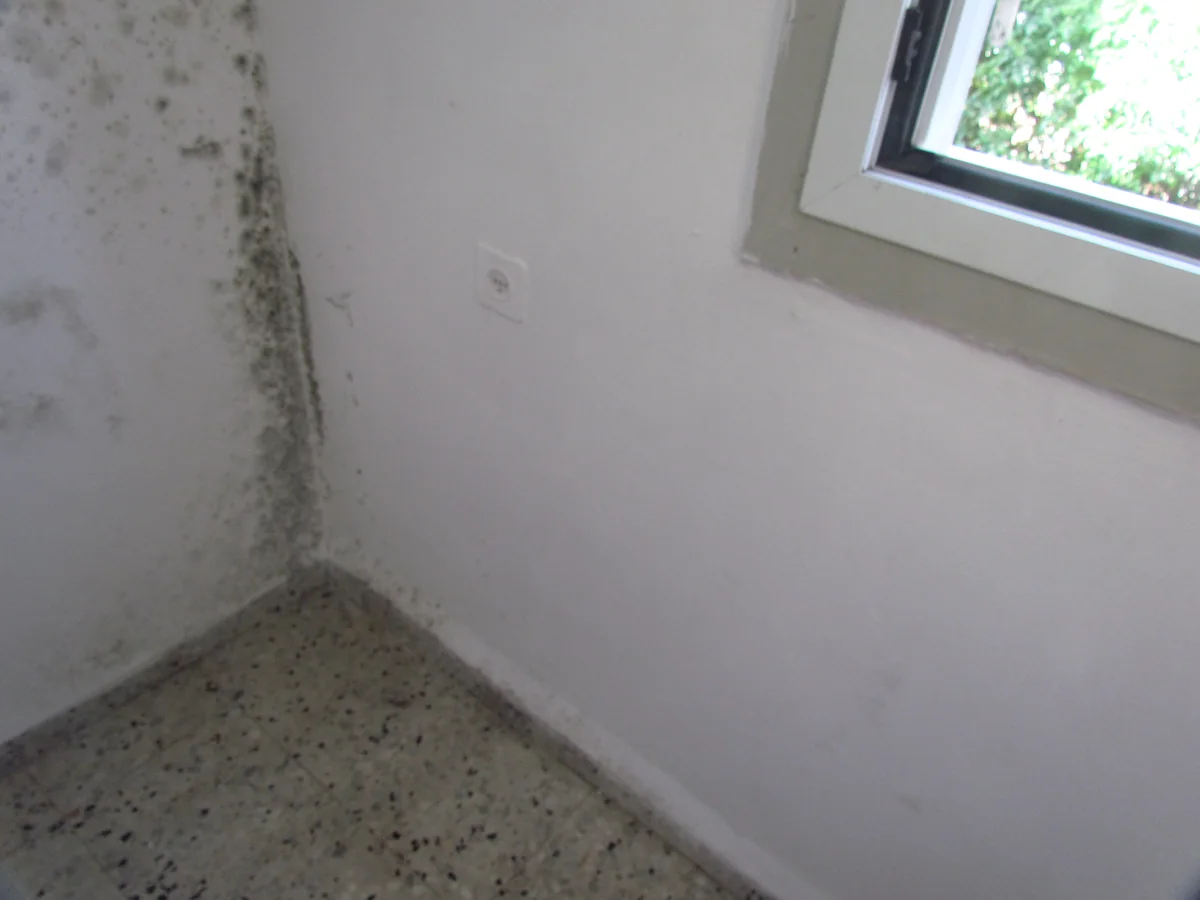
Visible mould and musty odour
Mould is rarely an isolated defect: it usually signals a moisture source, inadequate drying or a material that stayed wet too long.
- Black, green, grey or white spotting on materials.
- Persistent basement, wet cardboard or earthy odour.
Efflorescence, dampness and foundation seepage
White deposits on concrete indicate water migration that dissolves salts and leaves them behind as it dries.
- White powdery deposit, peeling paint, damp concrete or cellar odour.
- Vertical tracks on the foundation wall or a wet floor at the perimeter.
Related path
Continue with the right tools
These links connect this page to the next useful checks and decisions without repeating the full content.
Screen hazardous materialsKnow when to stop and assess asbestos, lead, vermiculite, mould, silica or radon.Open →Track indoor air qualityLog CO₂, radon, PM2.5, humidity and temperature without turning readings into diagnoses.Open →Prepare the emergency sheetDocument controls, equipment, contacts and critical locations in a printable format.Open →Score home resiliencePrioritize water, outages, fire, climate, health and essential records.Open →Sort observed symptomsConnect a visible sign to plausible causes, urgency and the right professional.Open →
Tools related to this issue
V18
Specialized diagnostics to verify
V18 connects systems that become costly or regulated when a primary project triggers them.