
Measure existing conditions before buying.
Renovate a home office
Highly detailed yellow-level guide to renovate a home office, with responsibility split, inspection hold points, quote review and work acceptance.
Prepared by RenoAtlas.ca · Content reviewed: 2026-08-02 · editorial method
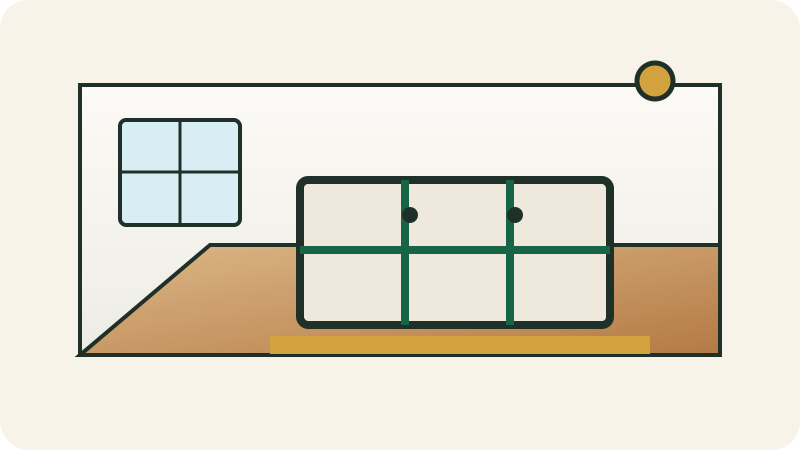
Forgetting waste, access and hidden services.
Permit, structure or regulated system.
Calculate
Budget estimator
Enter local prices or quotes in Canadian dollars. No data is sent to a server.
Respiratory protection
Full mask guideSelect for the hazard, never by appearance
Possible hazards
- task-specific dust or products to confirm
hazard assessment first
Priority controls
- Eliminate or reduce dust/vapour at the source before relying on a respirator.
- Use appropriate wet methods, HEPA capture, local exhaust and isolation.
- Read the SDS and exact product instructions.
What is not sufficient
- Choosing a respirator by appearance or colour is not a selection method.
Stop if
- Stop if the contaminant is unknown, air is inadequate, a seal is impossible or symptoms occur.
Final selection depends on contaminant, concentration, SDS, fit and the applicable program. An air-purifying respirator does not supply oxygen.
Yellow phase — complex project
Complex interior fit-out
Yellow describes technical complexity, not legal permission. Verify permits, inspections and trade requirements in your province, territory and municipality before starting.
Important limit
This guide helps prepare and oversee the project. Required plans, permits, inspections, manufacturer instructions and professionals prevail.
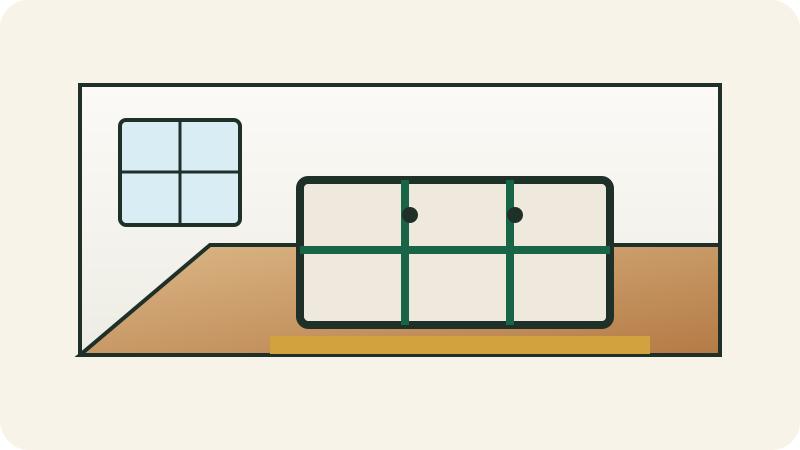
Layers and interfaces to watch
- 1
Scope, dimensions and use
- 2
Substrate, framing and services
- 3
Preparation and interfaces
- 4
Installation and fastening
- 5
Finish, operation and maintenance
Homeowner can always
- Measure, photograph, inventory and document existing conditions.
- Compare products, unit prices, quantities, rentals and delivery or disposal charges.
- Verify permits, licences, insurance, references and schedule before signing.
- Protect belongings, prepare access and keep a daily work log.
- Observe inspection points without modifying or commissioning a regulated system.
Competent DIY if allowed
- Perform only non-regulated tasks you understand and that the local authority permits homeowners to do.
- Follow manufacturer sequence, products and limits without improvising substitutions.
- Complete a limited test before treating the entire surface or system.
- Stop before concealing any interface that has not been photographed, tested or inspected.
Qualified trade, permit or inspection
- Structural design, load sizing and modification of load-bearing elements.
- Electrical, gas, combustion, refrigerant or regulated connections where required.
- Permitted or inspected work reserved by the jurisdiction for a contractor or qualified trade.
- Assessment and remediation of hazardous materials, extensive contamination or structural damage.
- Load-bearing wall, regulated service, hazardous material surface or specialized fabrication.
Preparation file
- Photograph initial conditions, damage, interfaces and access before any demolition.
- Write down scope, exclusions, exact materials, method and acceptance criteria.
- Confirm permits, utility locates, notifications and inspections before ordering or demolition.
- Read technical data sheets, installation instructions and warranties for selected products.
- Plan access, occupant protection, dust, noise, ventilation, weather, waste and storage.
- Create a project file with quotes, plans, photos, invoices, lot numbers and contact details.
- Measure walls, floors, ceilings, openings, appliances and services; record variations.
- Confirm loads, anchors, clearances, access and interaction with electrical or plumbing systems.
- Approve sample, colour, layout, joints and hardware before fabrication or cutting.
Permit and inspection questions
Controlled sequence
Detailed stages and hold points
Each stage states who may act, what to verify and what evidence to retain.
1
Before work
Define scope, permits and responsibilities
A verifiable scope prevents surprise exclusions and uninspected concealed work.

Substeps
- Photograph initial conditions, damage, interfaces and access before any demolition.
- Write down scope, exclusions, exact materials, method and acceptance criteria.
- Confirm permits, utility locates, notifications and inspections before ordering or demolition.
- Measure walls, floors, ceilings, openings, appliances and services; record variations.
- Confirm loads, anchors, clearances, access and interaction with electrical or plumbing systems.
- Approve sample, colour, layout, joints and hardware before fabrication or cutting.
Homeowner role
Prepare measurements, photos, questions, comparisons and administrative checks.
Qualified role
Confirm method, technical details, inspections and responsibility limits.
Quality check
Contract, plans, products, inspections, exclusions and acceptance criteria are identifiable.
Hold point
Do not order non-returnable products or demolish before this validation.
Stop if
The quote does not describe method, products, permits or unforeseen conditions.
Evidence to keep
Signed scope, plans, emails, permit or written authority confirmation.
2
Execution
Define use, storage, lighting, receptacle, ventilation and finish requirements
A clear scope prevents wasted purchases and rework.
Substeps
- Define use, storage, lighting, receptacle, ventilation and finish requirements.
- Read the exact product data sheet and note limits, wait times and application conditions.
- Measure existing conditions in more than one location and record variations before buying.
- Allow for waste, accessories, delivery, disposal and a modest contingency.
- Dry-fit and confirm alignment, operation and access before permanent fastening.
- Photograph this point and record product, measurement or result before proceeding.
Homeowner role
The homeowner can generally prepare, measure, document and verify, provided no regulated system is opened or modified.
Qualified role
Load-bearing wall, regulated service, hazardous material surface or specialized fabrication.
Quality check
Scope, quantities and sequence are written down before work starts.
Hold point
Do not conceal or pay this milestone before verification and photos if this work will become hidden.
Stop if
Stop if the scope affects structure, a regulated system or an unevaluated suspect material.
Evidence to keep
Overall photo, close-up detail, product used and relevant measurement or test.
3
Execution
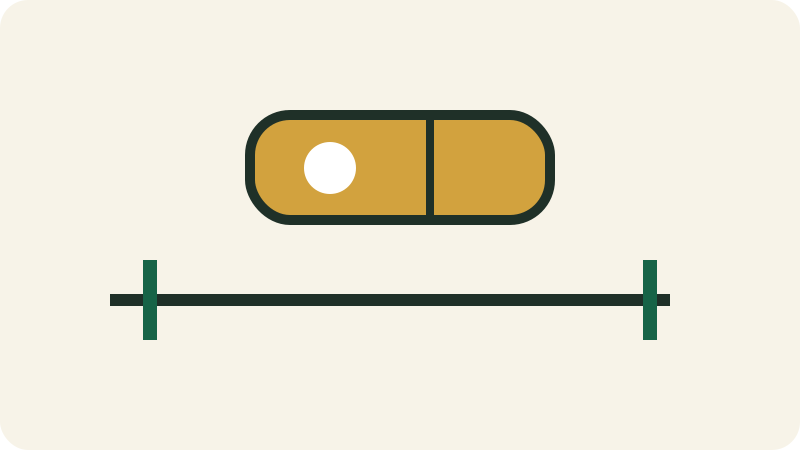
Measure, photograph and document existing services, walls, floors, ceilings and
A starting error repeats across the entire installation.
Substeps
- Measure, photograph and document existing services, walls, floors, ceilings and defects.
- Measure each dimension at least twice and verify square, level or slope as appropriate.
- Mark reference lines independent of walls that may be irregular.
- Dry-fit the first pieces and adjust the layout to avoid an overly narrow final piece.
- Dry-fit and confirm alignment, operation and access before permanent fastening.
- Photograph this point and record product, measurement or result before proceeding.
Homeowner role
The homeowner can generally prepare, measure, document and verify, provided no regulated system is opened or modified.
Qualified role
Load-bearing wall, regulated service, hazardous material surface or specialized fabrication.
Quality check
Marks are visible, consistent and confirmed by a second measurement.
Hold point
Do not conceal or pay this milestone before verification and photos if this work will become hidden.
Stop if
Stop if variations exceed what the product or method can accommodate.
Evidence to keep
Overall photo, close-up detail, product used and relevant measurement or test.
4
Execution
Plan work order to avoid rework
A finish cannot compensate for a moving, weak or uneven substrate.

Substeps
- Plan work order to avoid rework: demolition, services, close-in, finishes and equipment.
- Remove only loose or damaged material back to a sound substrate.
- Use a compatible repair product and respect maximum thickness per coat.
- Sand or level gradually without gouging sound areas.
- Dry-fit and confirm alignment, operation and access before permanent fastening.
- Photograph this point and record product, measurement or result before proceeding.
Homeowner role
A competent DIYer may perform this step only if the scope remains non-regulated, the substrate is sound and the exact instructions are understood.
Qualified role
Load-bearing wall, regulated service, hazardous material surface or specialized fabrication.
Quality check
The substrate is dry, sound, clean and within the finish product's tolerance.
Hold point
Do not conceal or pay this milestone before verification and photos if this work will become hidden.
Stop if
Stop if a crack moves, the substrate crumbles deeply or moisture remains unresolved.
Evidence to keep
Overall photo, close-up detail, product used and relevant measurement or test.
5
Execution
Protect retained areas, control dust and waste, then correct substrates
Protection costs less than repairing adjacent surfaces.

Substeps
- Protect retained areas, control dust and waste, then correct substrates before finishes.
- Remove what can be removed instead of only masking it.
- Cover surfaces with non-slip protection and isolate dusty areas.
- Label and store hardware in separate containers.
- Dry-fit and confirm alignment, operation and access before permanent fastening.
- Photograph this point and record product, measurement or result before proceeding.
Homeowner role
The homeowner can generally prepare, measure, document and verify, provided no regulated system is opened or modified.
Qualified role
Load-bearing wall, regulated service, hazardous material surface or specialized fabrication.
Quality check
No fragile surface, opening or travel path is unnecessarily exposed.
Hold point
Do not conceal or pay this milestone before verification and photos if this work will become hidden.
Stop if
Stop if removal reveals suspect material, moisture or hidden damage.
Evidence to keep
Overall photo, close-up detail, product used and relevant measurement or test.
6
Execution
Coordinate required inspections and testing before closing walls or ceilings
A check before putting tools away allows small defects to be corrected.

Substeps
- Coordinate required inspections and testing before closing walls or ceilings.
- Inspect from several angles and lighting conditions, then gently test stability or operation.
- Photograph hidden areas, products, lot numbers and useful measurements.
- Clean up, remove protection at the proper time and record required maintenance.
- Dry-fit and confirm alignment, operation and access before permanent fastening.
- Photograph this point and record product, measurement or result before proceeding.
Homeowner role
The homeowner can generally prepare, measure, document and verify, provided no regulated system is opened or modified.
Qualified role
Load-bearing wall, regulated service, hazardous material surface or specialized fabrication.
Quality check
The result works, appears uniform and shows no leak, movement or visible damage.
Hold point
Do not conceal or pay this milestone before verification and photos if this work will become hidden.
Stop if
Do not conceal a defect; correct or document it before final close-out.
Evidence to keep
Overall photo, close-up detail, product used and relevant measurement or test.
7
Execution
Install finishes from top to bottom, complete touch-ups and document
Forced assembly often damages profiles and compounds errors.
Substeps
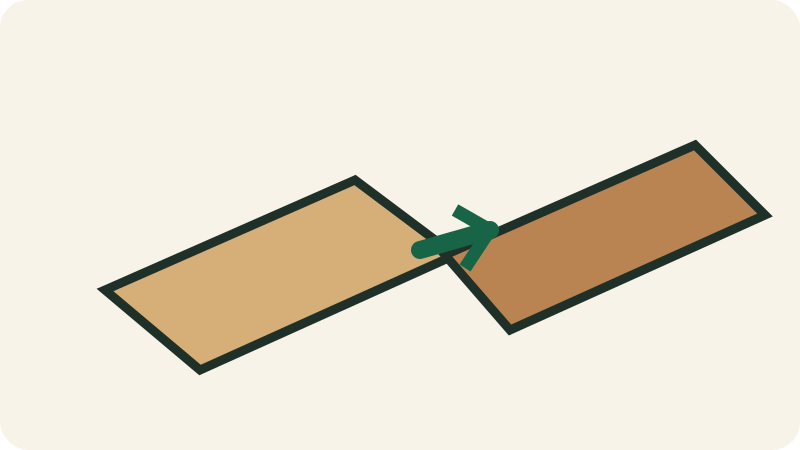
- Install finishes from top to bottom, complete touch-ups and document products for maintenance.
- Start from a stable reference line and maintain required clearances.
- Verify each joint is fully engaged before continuing.
- Stagger joints and blend batches or patterns when recommended.
- Dry-fit and confirm alignment, operation and access before permanent fastening.
- Photograph this point and record product, measurement or result before proceeding.
Homeowner role
A competent DIYer may perform this step only if the scope remains non-regulated, the substrate is sound and the exact instructions are understood.
Qualified role
Load-bearing wall, regulated service, hazardous material surface or specialized fabrication.
Quality check
Joints are closed, the surface remains flat and perimeter clearances remain free.
Hold point
Do not conceal or pay this milestone before verification and photos if this work will become hidden.
Stop if
Stop if pieces require excessive force or alignment drifts.
Evidence to keep
Overall photo, close-up detail, product used and relevant measurement or test.
8
Acceptance
Test, accept and close the project
A project is complete only when tests, documents and deficiencies are resolved.
Substeps
- Progressive load or functional test as appropriate.
- Final adjustment, touch-ups and cleaning before acceptance.
- Detailed invoices and proof of subcontractor payment where relevant.
- Closed permits, inspection reports and test results.
- Data sheets, warranties, serial numbers, colours, lots and spare materials.
- Plans or photos identifying concealed elements, services and access points.
Homeowner role
Conduct the acceptance walk-through, record deficiencies and retain all documents.
Qualified role
Demonstrate operation, provide measurements, correct deficiencies and explain maintenance.
Quality check
Acceptance criteria, tests, inspections, cleaning and documents are complete.
Hold point
Do not authorize final payment before corrections and delivery of closeout records.
Stop if
A safety defect, leak, movement, alarm, odour or test result remains unresolved.
Evidence to keep
Commissioning report, final photos, closed deficiency list and warranties.
Inspection matrix
| Milestone | Pass criteria | Evidence |
|---|---|---|
| Before demolition | Scope, protection, permits and initial conditions confirmed. | Overall pre-work view with location references. |
| After opening | Substrate, services and concealed conditions assessed before repair. | Services, framing, substrate and defects after opening but before repair. |
| Before concealment | After framing, blocking or services, before concealment. | Each layer or interface before it is concealed. |
| Before finish | Required tests passed and surfaces accepted before final covering. | Test results, instrument readings and inspection label. |
| Final acceptance | Operation, finish, documents and deficiencies verified. | Final result from several angles, plus details and transitions. |
Critical hold points
- After opening or removal, before substrate correction.
- After framing, blocking or services, before concealment.
- After dry fit, before permanent fastening or bonding.
Technical acceptance
- Dimensions, levels, alignments, clearances and transitions are consistent.
- Fasteners engage reliable backing without distortion or damage.
- Doors, drawers, appliances and service access operate fully.
- Finish is uniform under normal and raking light.
Commissioning
- Progressive load or functional test as appropriate.
- Final adjustment, touch-ups and cleaning before acceptance.
Minimum photo log
- Overall pre-work view with location references.
- Services, framing, substrate and defects after opening but before repair.
- Products used with label, model, lot number and date.
- Each layer or interface before it is concealed.
- Test results, instrument readings and inspection label.
- Final result from several angles, plus details and transitions.
Cost control
Break down the quote
Comparison basis: detailed line-item scope and clearly identified allowances
- 1measurement and design
- 2demolition
- 3substrate and blocking
- 4materials
- 5hardware
- 6fabrication
- 7installation
- 8finishes
- 9protection and cleaning
- 10warranty
Required fields
- quantity and unit
- product, model or grade
- unit price or allowance
- hours, crew or labour allowance
- preparation and substrate conditions
- permits, inspections and tests
- delivery, equipment and disposal
- taxes, exclusions and contingency
Red flags
- Lump sum without quantities or identified materials.
- No line item for preparation, flashing, drainage, testing or commissioning where relevant.
- Payment requested before the observable milestone or inspection.
- Product substitution without data sheet or warranty impact.
- Verbal change order or price without credit for deleted work.
- No clear responsibility for damage, access, cleaning or restoration.
Before signing
Questions for the contractor
- What exact method do you propose for “Renovate a home office” and why does it suit existing conditions?
- Which products, models, thicknesses, quantities and accessories are included?
- Who obtains permits, schedules inspections and provides reports?
- Which concealed conditions would trigger a change and how will it be priced?
- Which work will be concealed and when can I photograph or inspect it?
- Which tests and measurements will be delivered at acceptance?
- Which exclusions, allowances, mobilization, delivery and disposal charges are not in the price?
- What labour warranty applies and who manages the manufacturer warranty?
- What is the milestone schedule and which delays are plausible?
- How will you protect the home, occupants and adjacent surfaces?
Milestone payments
- Tie each payment to an observable milestone, not only a date.
- Do not pay for concealed work before applicable photos, tests and inspections.
- Retain a meaningful final amount until deficiencies are corrected and documents delivered.
- Verify provincial rules governing deposits, holdbacks, liens and payments.
Change orders
- No non-emergency change should begin without a written description of the cause and revised scope.
- Price should separate labour, materials, equipment, schedule impact and credit for deleted work.
- Request photos or evidence of the unforeseen condition before it is concealed.
- Compare the minimum compliant option, recommended option and any optional upgrade.
- Keep authorization, date and cumulative budget and schedule impact.
Documents to receive
- Detailed invoices and proof of subcontractor payment where relevant.
- Closed permits, inspection reports and test results.
- Data sheets, warranties, serial numbers, colours, lots and spare materials.
- Plans or photos identifying concealed elements, services and access points.
- Operating, maintenance, winterization and inspection schedule.
- Written list of corrected deficiencies and final acceptance date.
Maintenance and monitoring
- Inspect the project after its first service season and after a major weather event.
- Keep touch-up products, spare parts, lot numbers and documents.
- Record any leak, crack, movement, noise, odour or performance change and act early.
- Follow the manufacturer schedule for cleaning, filters, seals, protection or winterization.
- Do not hide a recurring defect with sealant, paint or a temporary adjustment.
Inspection
Full defect libraryDefects to recognize before, during and after this project
Defects homeowners often encounter on this type of project. Some records use credited real photos; others use conceptual references. Symptoms and real-world context remain the reference.
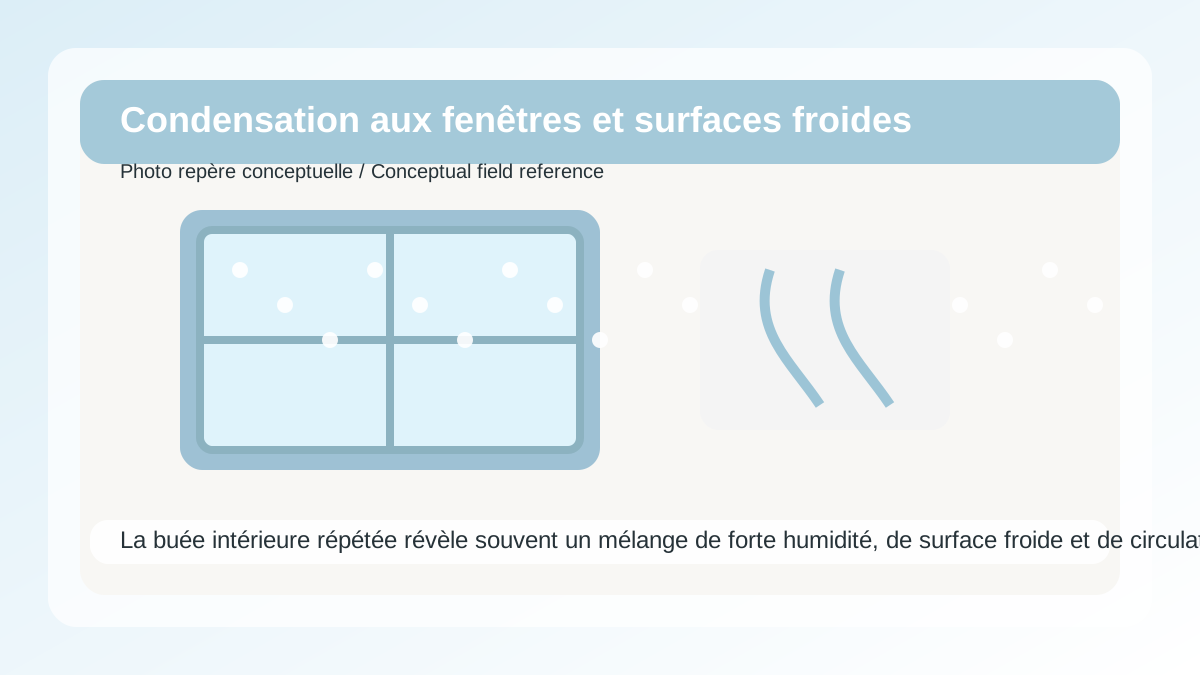
Condensation on windows and cold surfaces
Repeated interior fogging often reveals a combination of high indoor humidity, a cold surface and poor air movement.
- Fogging or droplets on glazing or frames.
- Local blackening at corners, damp curtains or peeling paint at the perimeter.
Drywall cracks, visible joints and fastener pops
Minor drywall defects can result from normal shrinkage, poor fastening or movement that should be understood before patching.
- Straight crack at a joint, opening corner or fastener visible below paint.
- A defect that returns after each repair or changes seasonally.
Sticking, misaligned or drafty door
A door that changes behaviour can result from humidity, loose hinges, frame movement or broader movement.
- Localized rubbing, uneven gap, misaligned latch or draft.
Verified references
- National Building Code of Canada 2025Canada model code
- Model code adoption across CanadaProvincial and territorial adoption
- Chemical safety for do-it-yourself projectsDIY chemical products
Understand the system
All guidesUseful guides for this project

The four levers of good sound isolation
Sealing, absorption, mass and decoupling must work together.
Checked: 2026-08-01Interior design styles: recognize and combine without copying
Photo gallery and a method for selecting palette, forms, materials, lighting and furniture.
Checked: 2026-08-02Indoor comfort and wellbeing: temperature, humidity, air, noise and light
Treat physical causes of discomfort before buying gadgets.
Checked: 2026-08-02Lighting 101: choose type, colour, quantity and placement
Understand lumens, kelvins, CRI, beam, dimming and lighting layers.
Checked: 2026-08-02Related path
Continue with the right tools
These links connect this page to the next useful checks and decisions without repeating the full content.
Measure and organize roomsKeep dimensions, levels, openings and surfaces before purchasing.Open →Compare materialsCompare material families by use, limits, care and cost.Open →Prepare the shopping listGroup materials, tools, parts, quantities, prices and store by project.Open →Compare price observationsCheck dated prices before turning an estimate into a purchase.Open →Choose the required toolsReview the tool dictionary and intended uses before starting.Open →
V16
Advanced diagnostics to cross-check
V16 connects water, soil, climate, safety, materials and seasonal use to existing projects.